DIY Texture Rollers & No-Cook Play Dough Recipe
Hi Kid Lab friends! Sarah here.
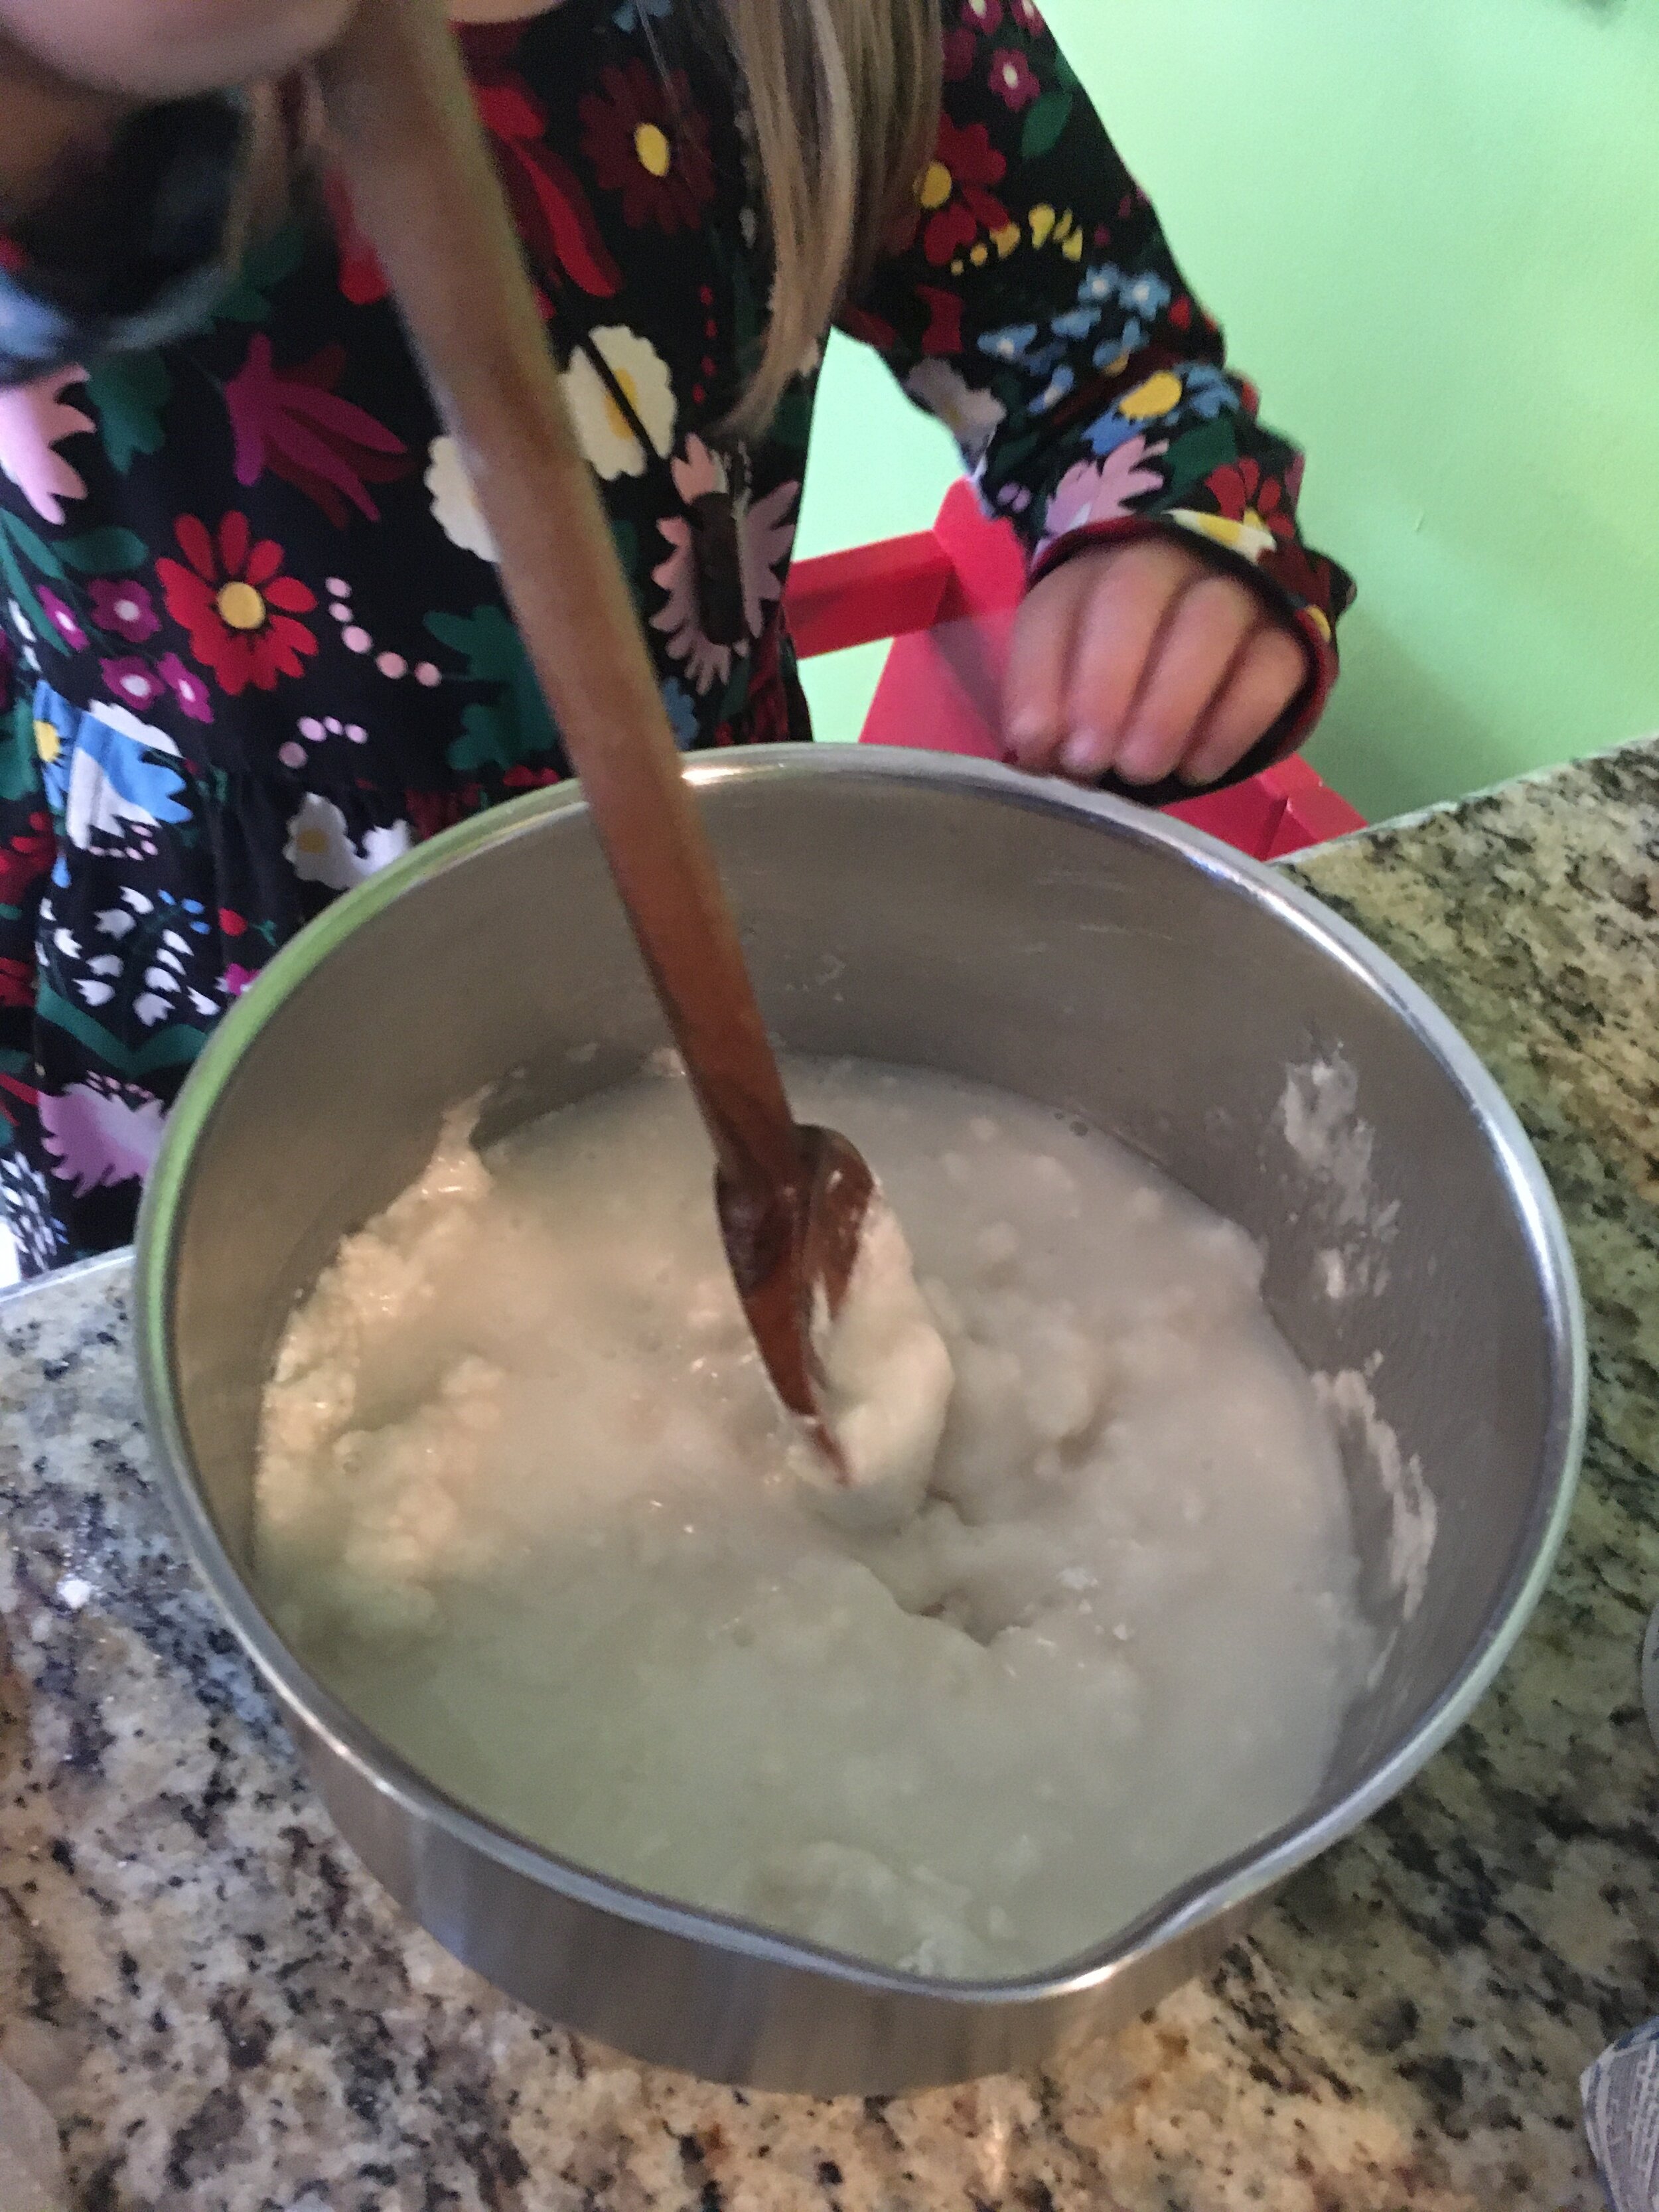
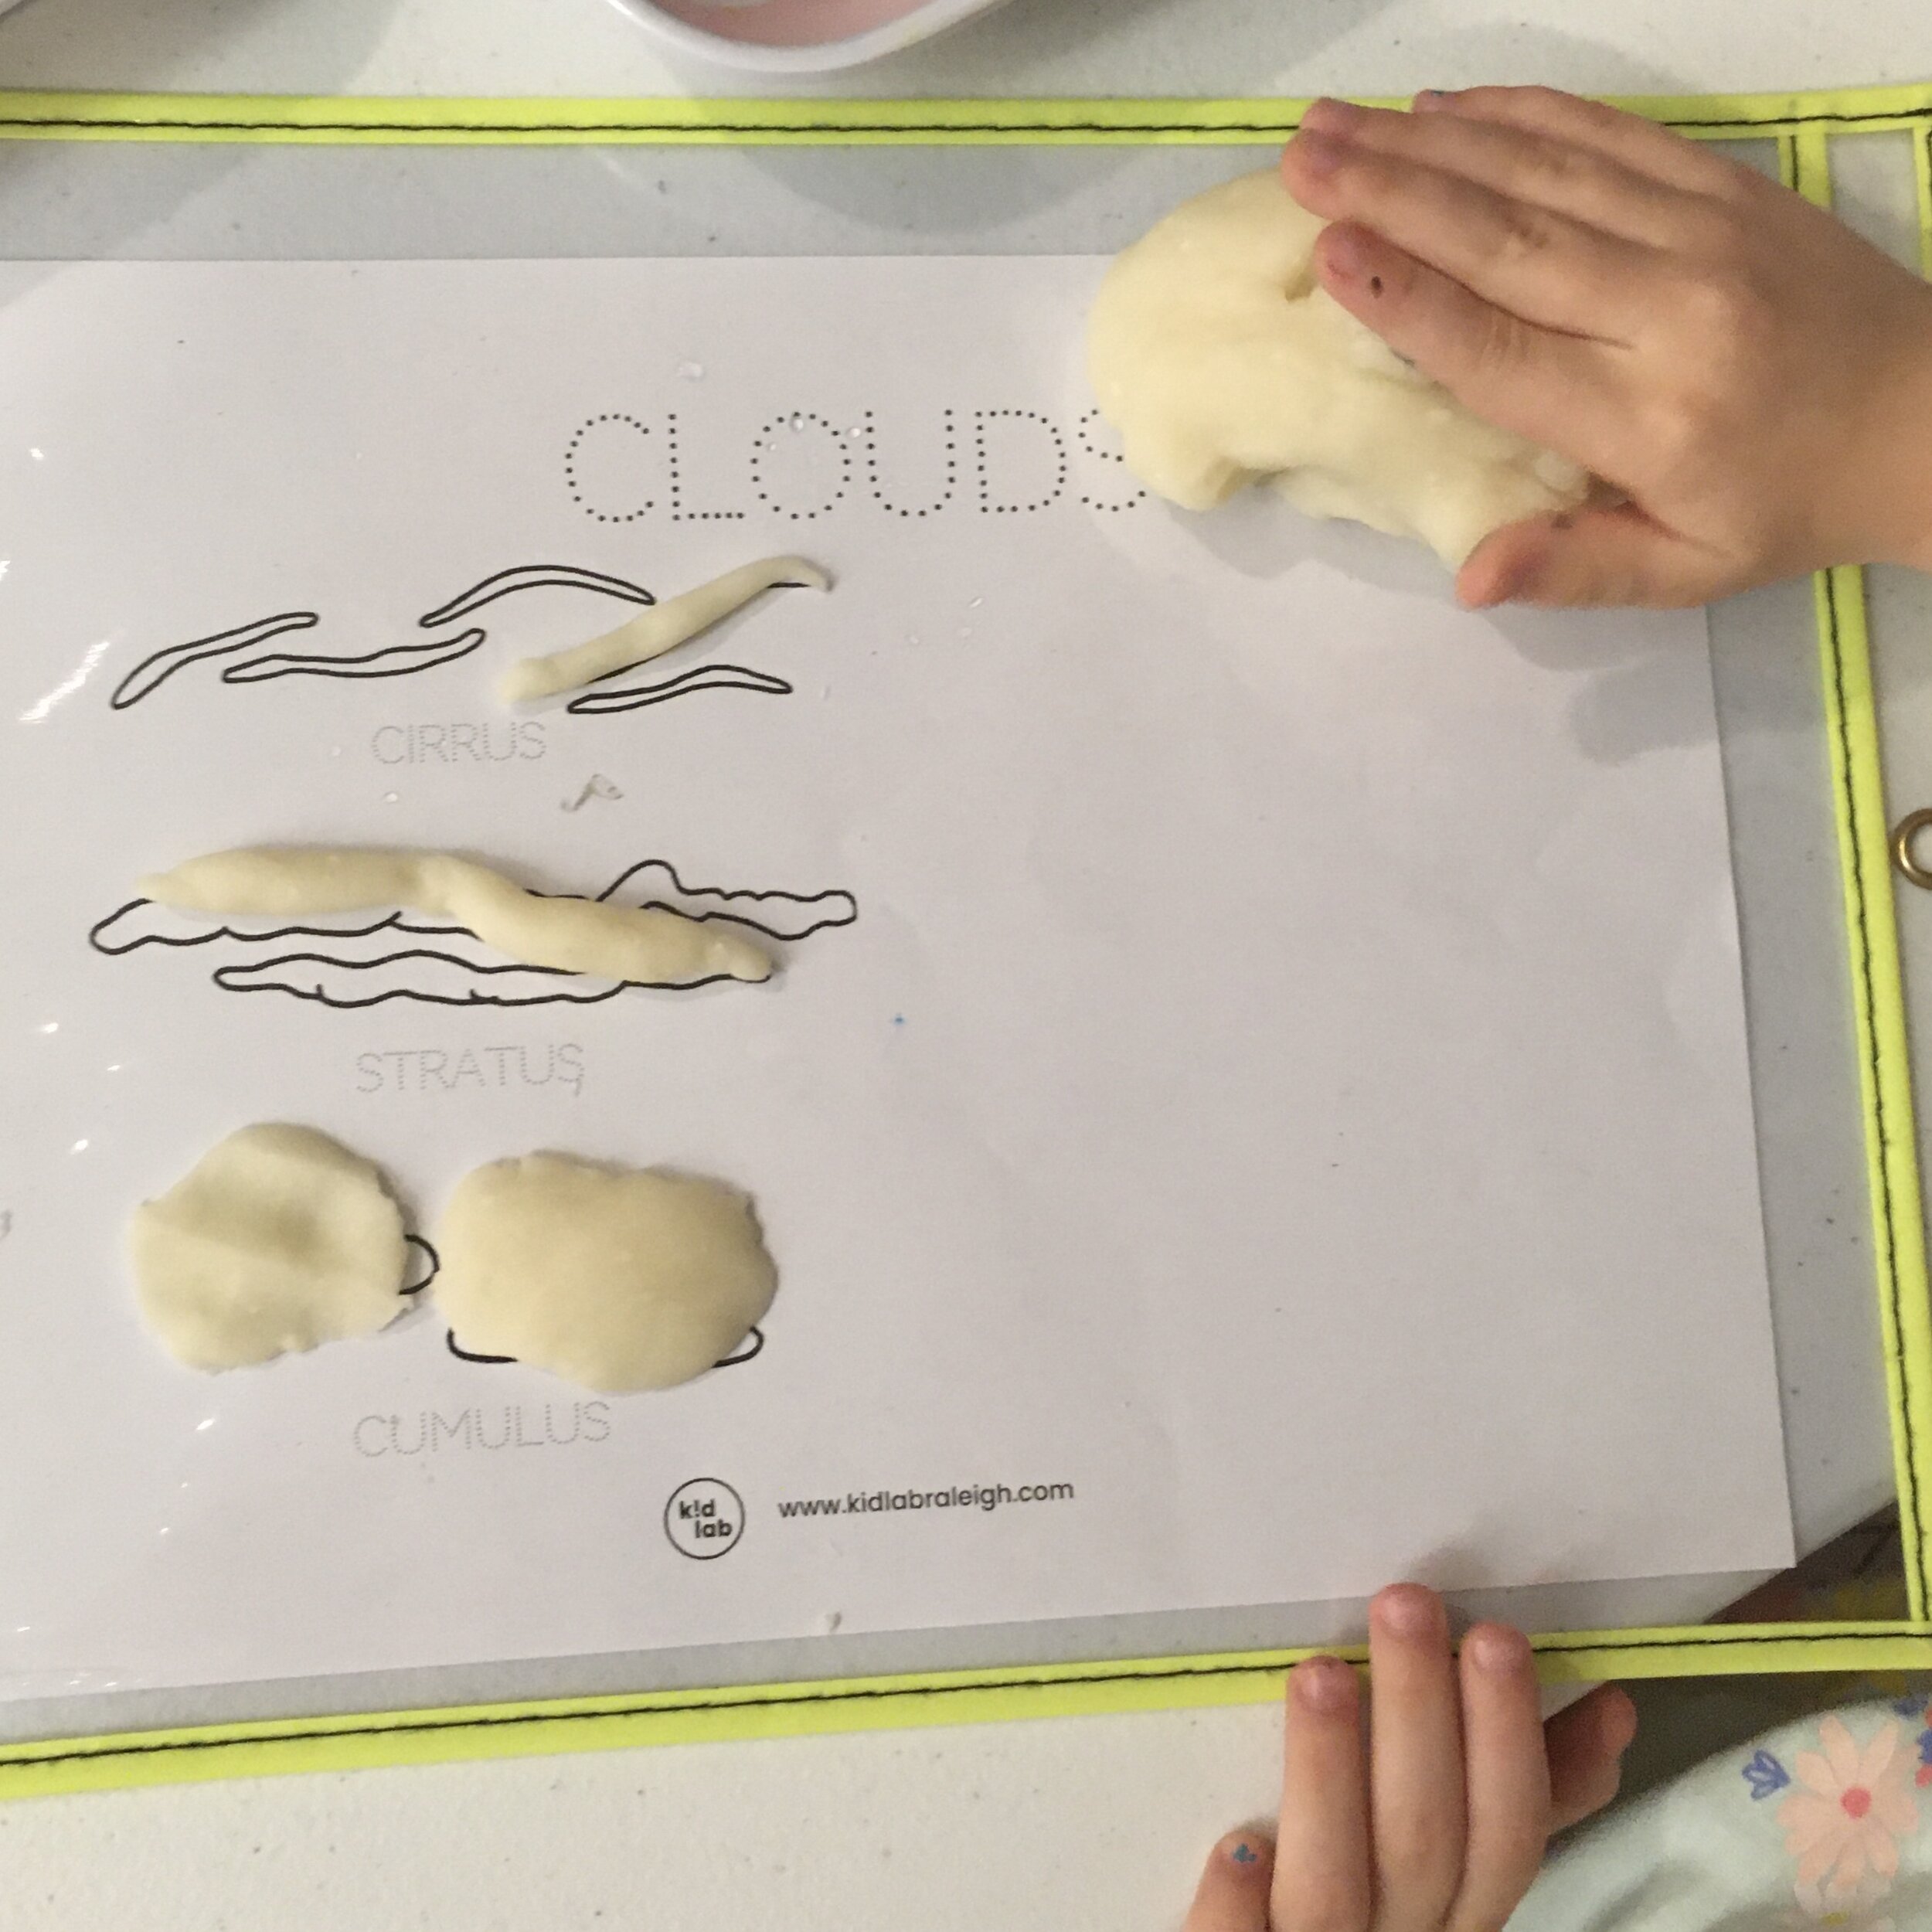
One of my earliest memories is of my mother mixing up play dough for me and getting to poke toothpicks all over a ball of dough I rolled to make a little porcupine sculpture. Play dough is such wonderful material to let children explore with their imaginations and hands. I have tried quite a few play dough recipes over the years but this one is my favorite because it does not require cooking and it is easy enough that I can let my kids make the play dough before we get to play with it. Below is my favorite recipe, some of the favorite tools we use, and an easy DIY activity to make your own texture play dough roller.
No-Cook Play Dough
2 cups flour
1 cup salt
4 Tablespoons cream of tartar
2 Tablespoons vegetable oil
2 cups boiling water
Mix all dry ingredients
Add oil
Add boiling water
Mix well and knead on counter when cool enough to handle
Store in an airtight container
Optional:
Add food coloring to either the hot water or after kneading
Add essential oil or other scent such as peppermint extract
Add cinnamon or other spices to make it seasonal
DIY Texture Roller
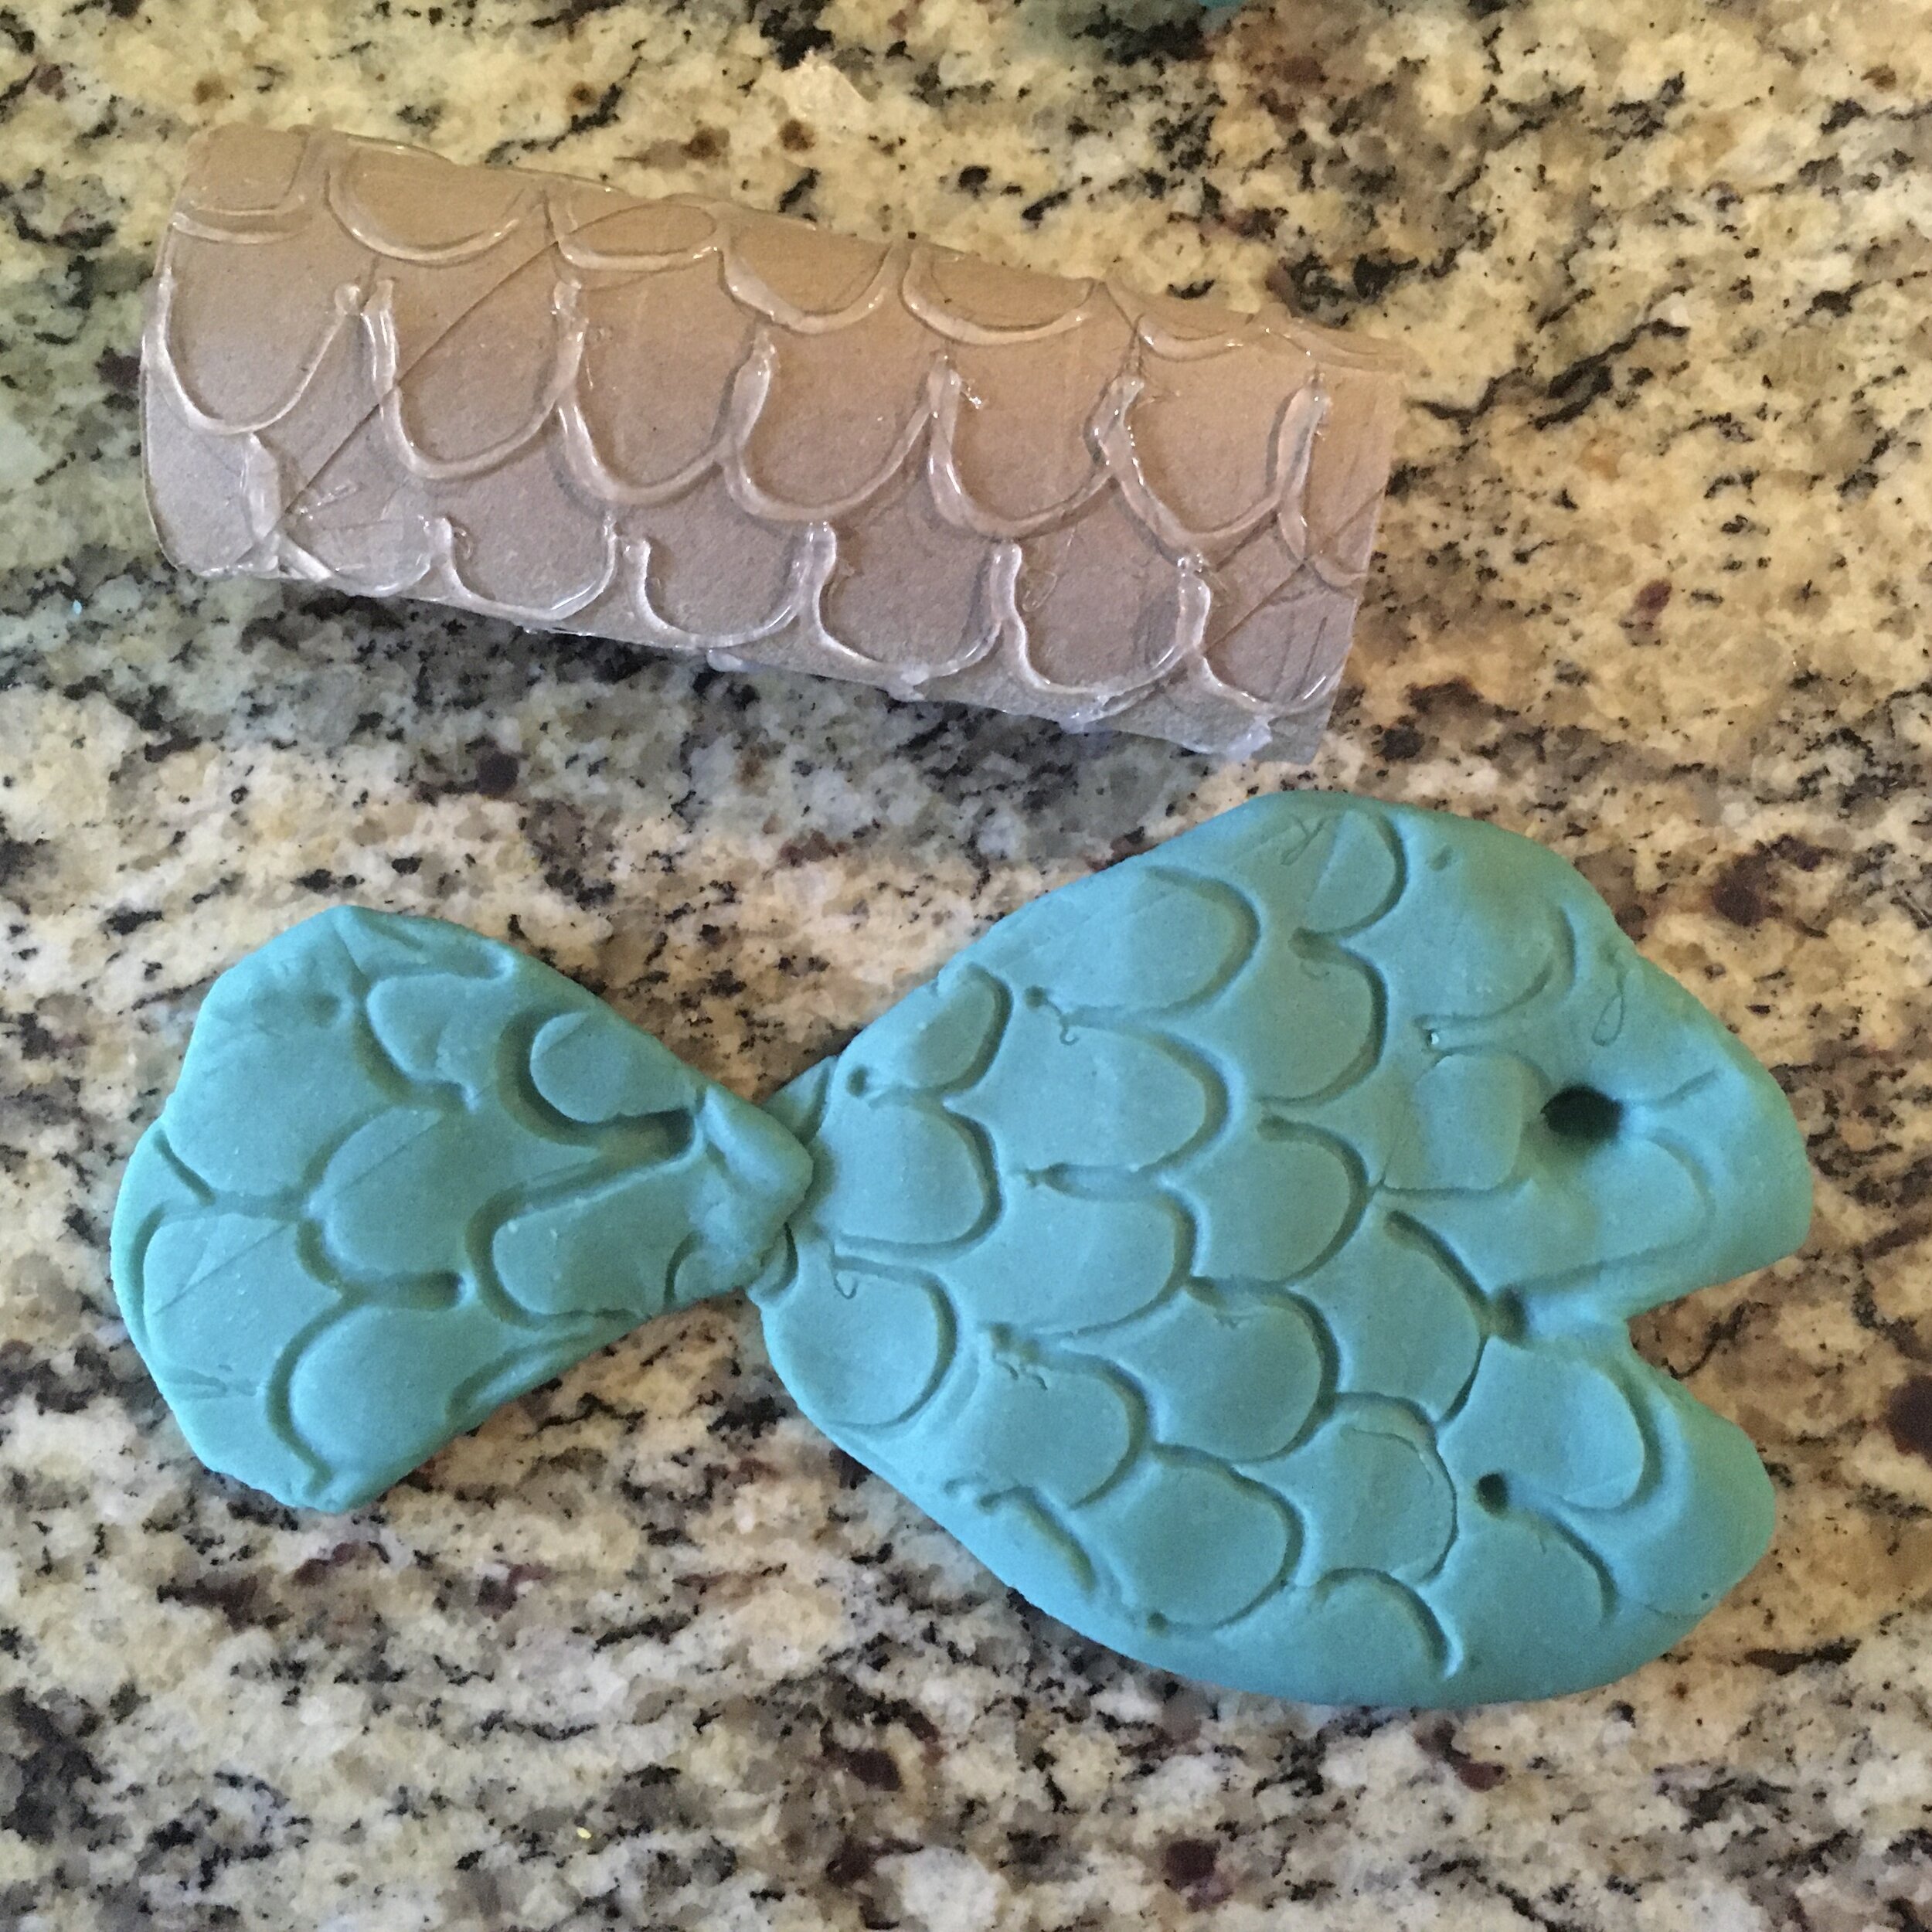
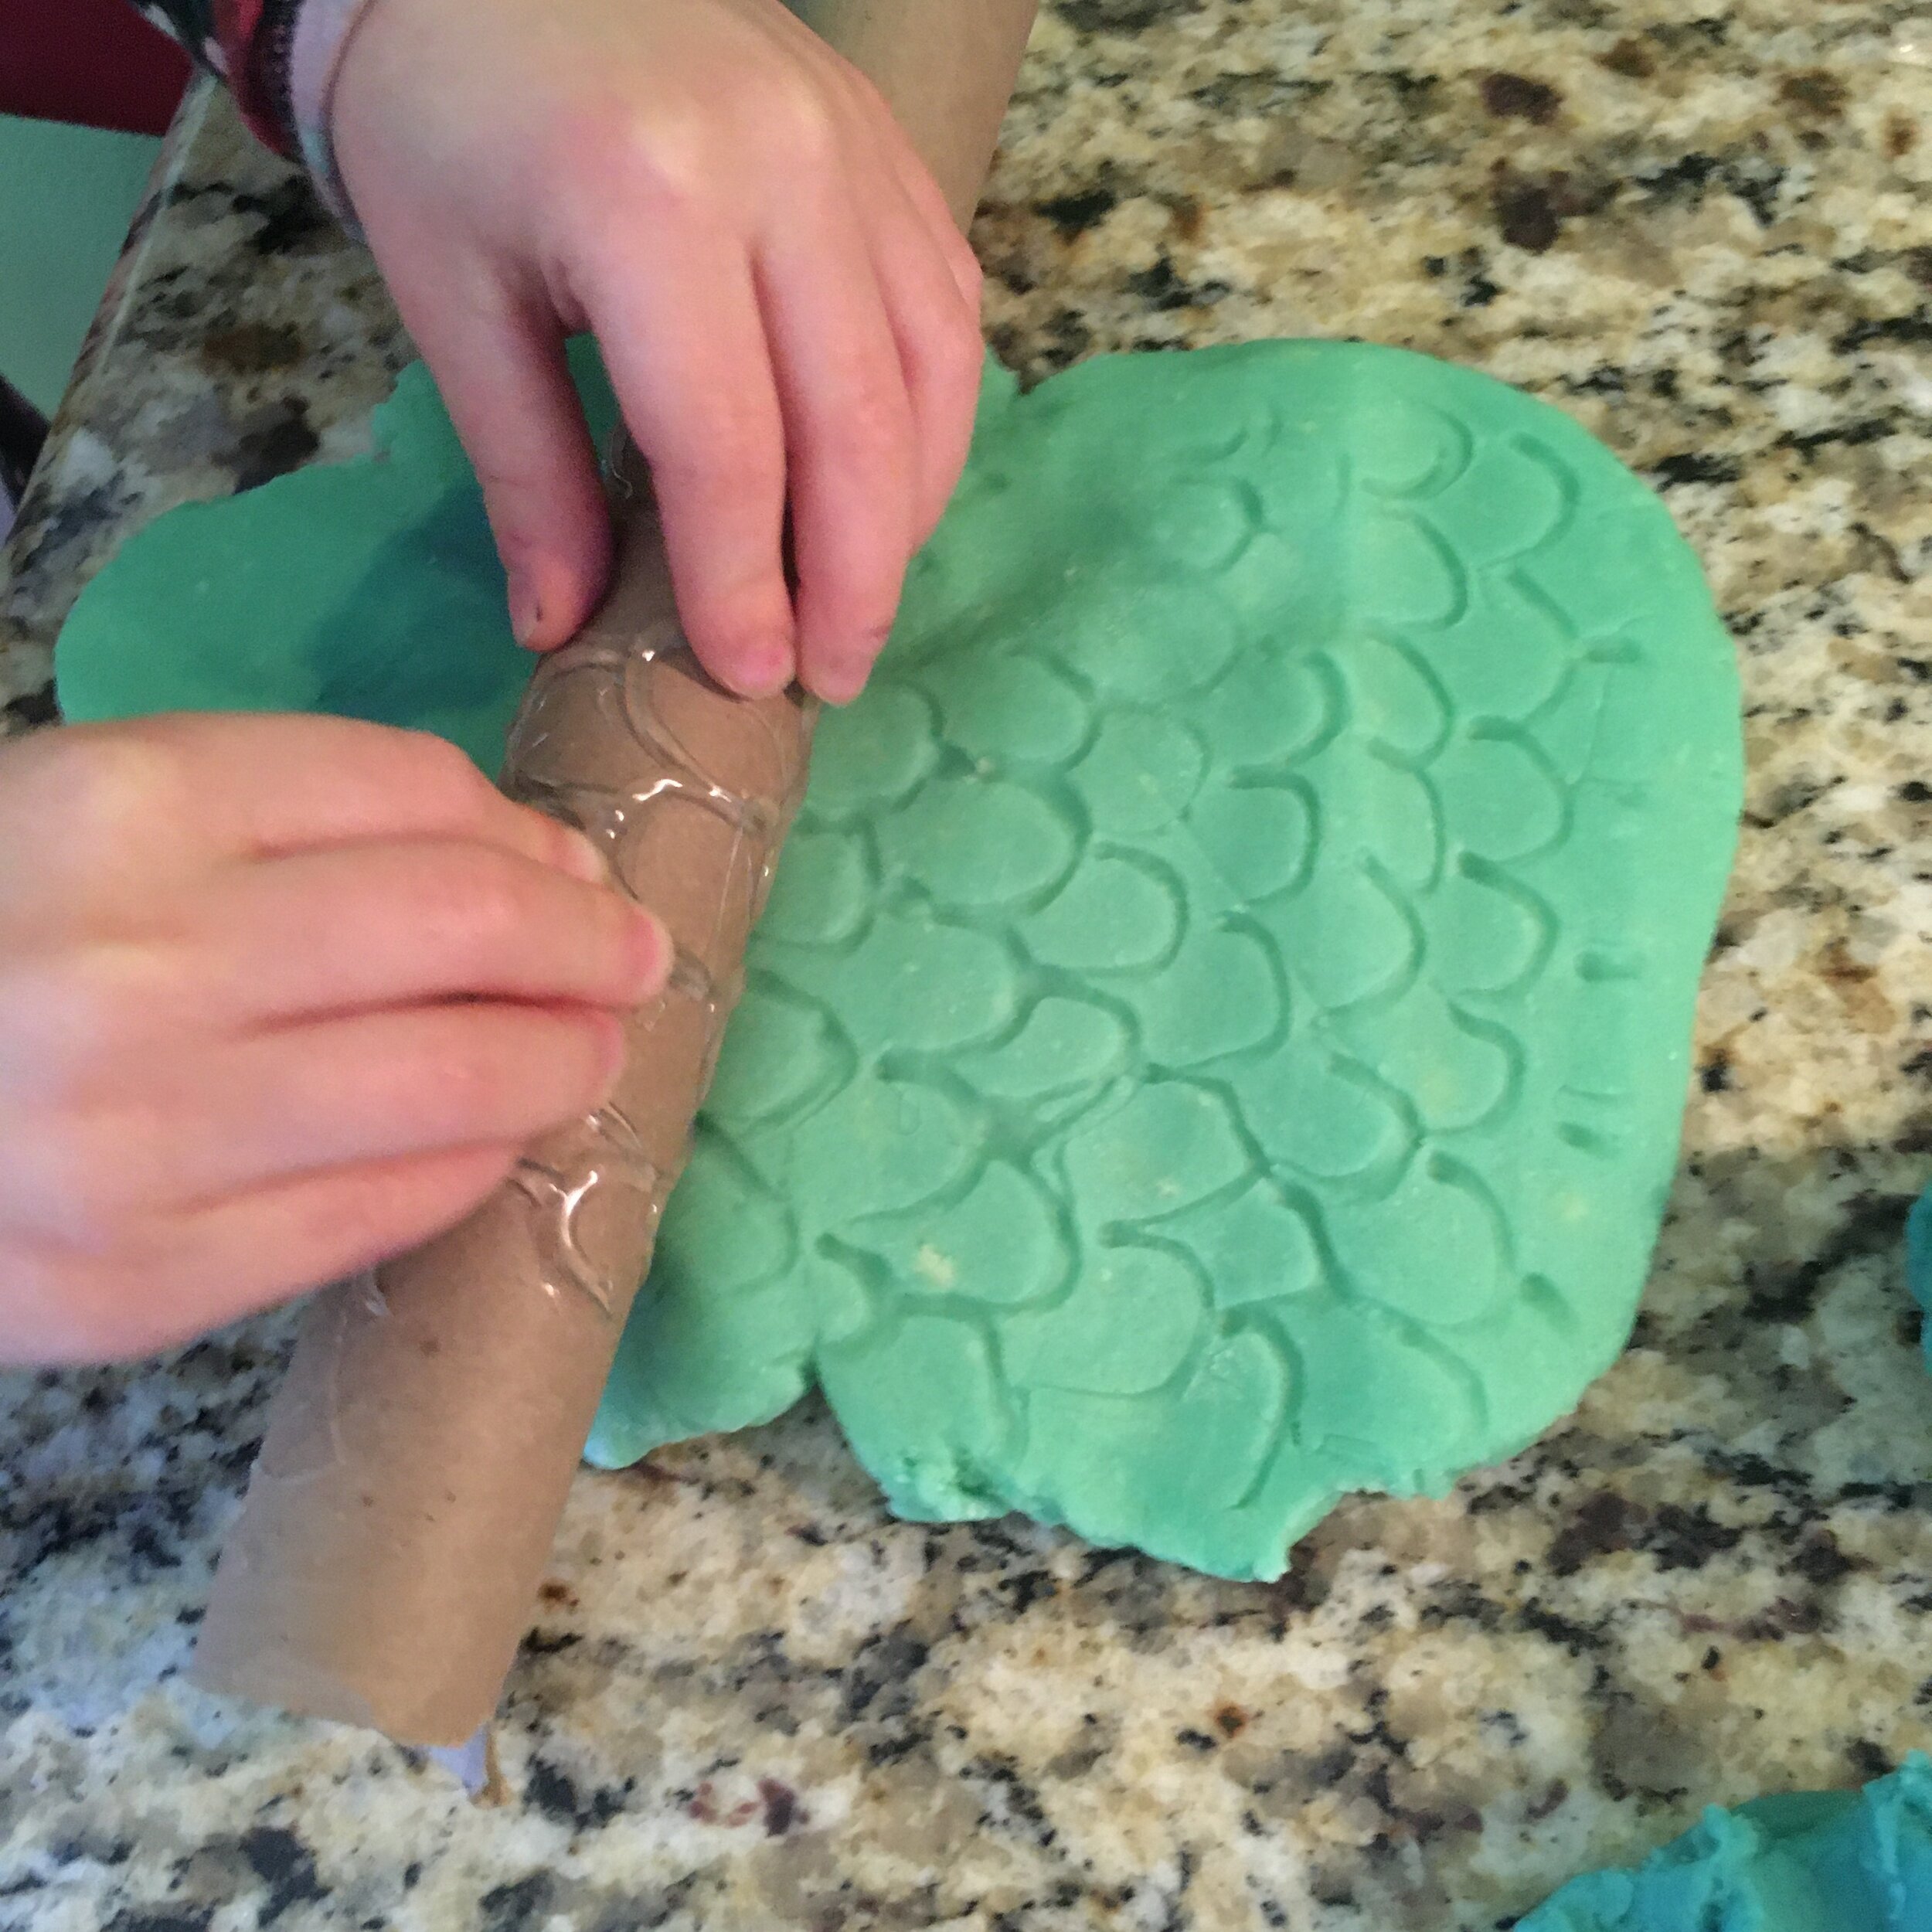
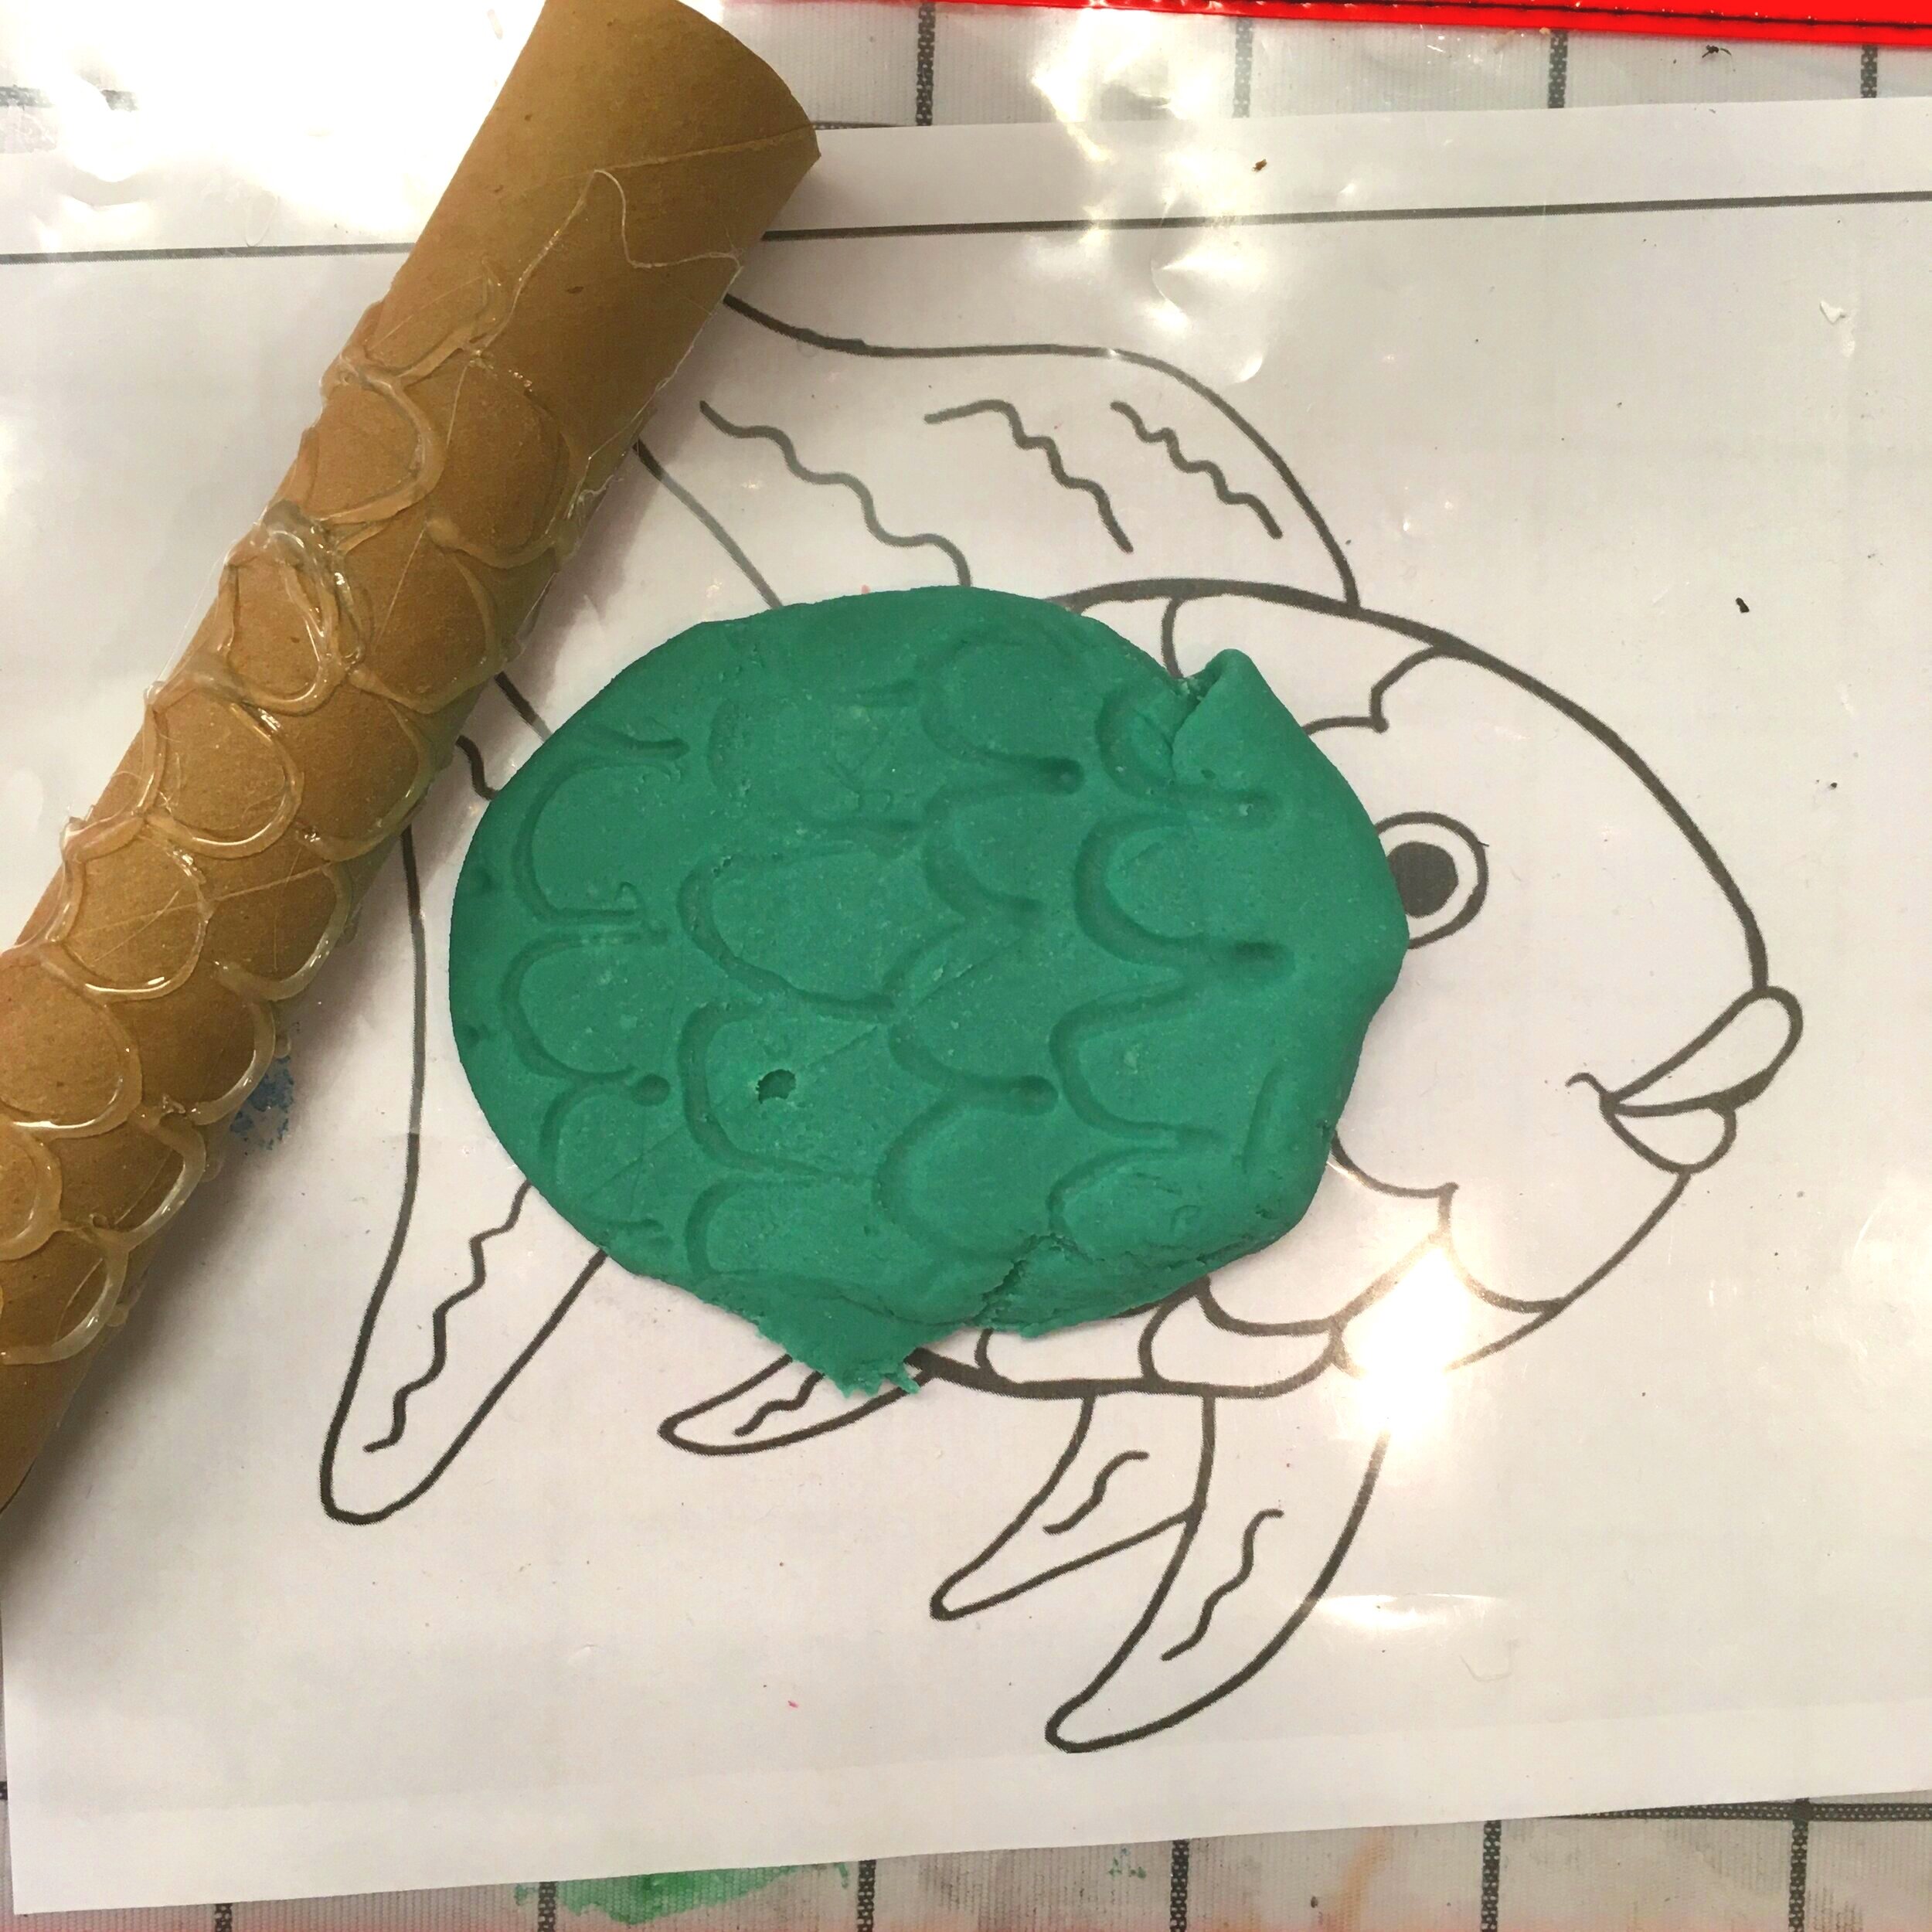
Rolling pins are a great way for children to explore play dough and I love making homemade rollers out of cardboard tubes. You can use a tube from a paper towel roll but I also save the cardboard rolls that are from aluminum foil or wrapping paper because it helps to have a roll that is sturdy. I use my hot glue gun and make a pattern like fish scales so that we can make a texture on the rolled out play dough. You can make it as simple as dots or as complex as writing your child's name in hot glue. If you do try writing, remember to write the letters backwards!
Favorite Add-ons:
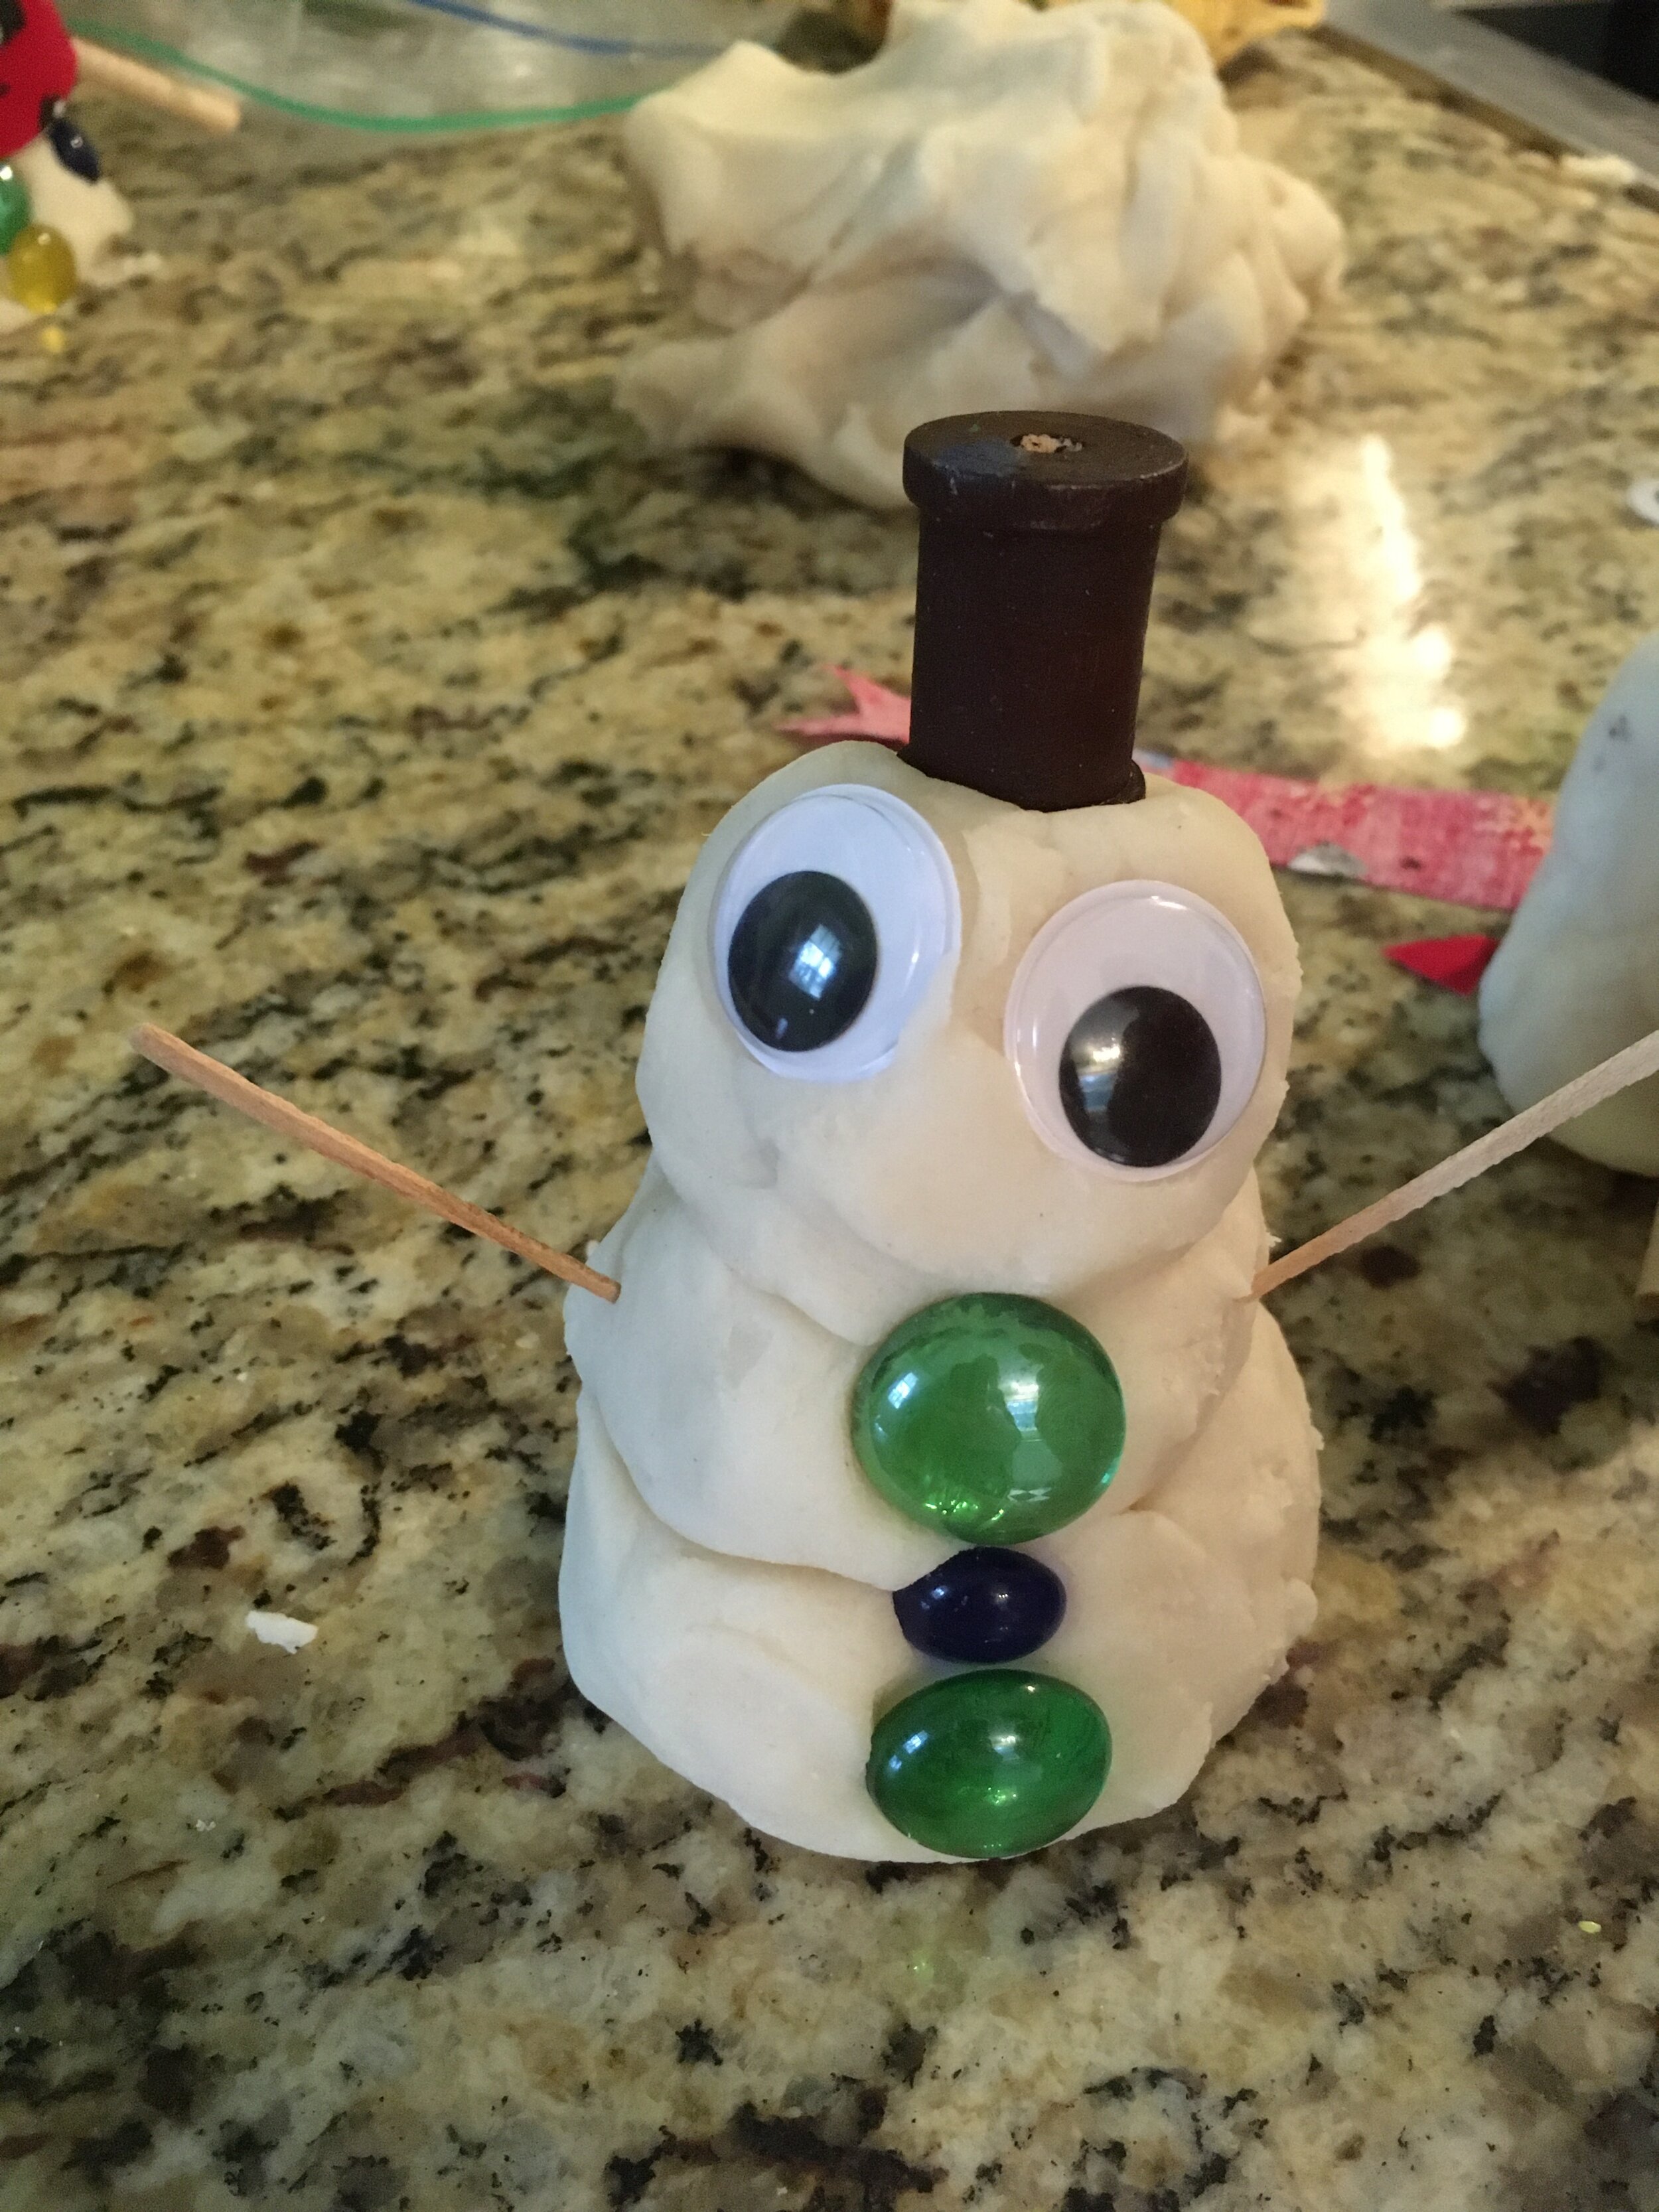
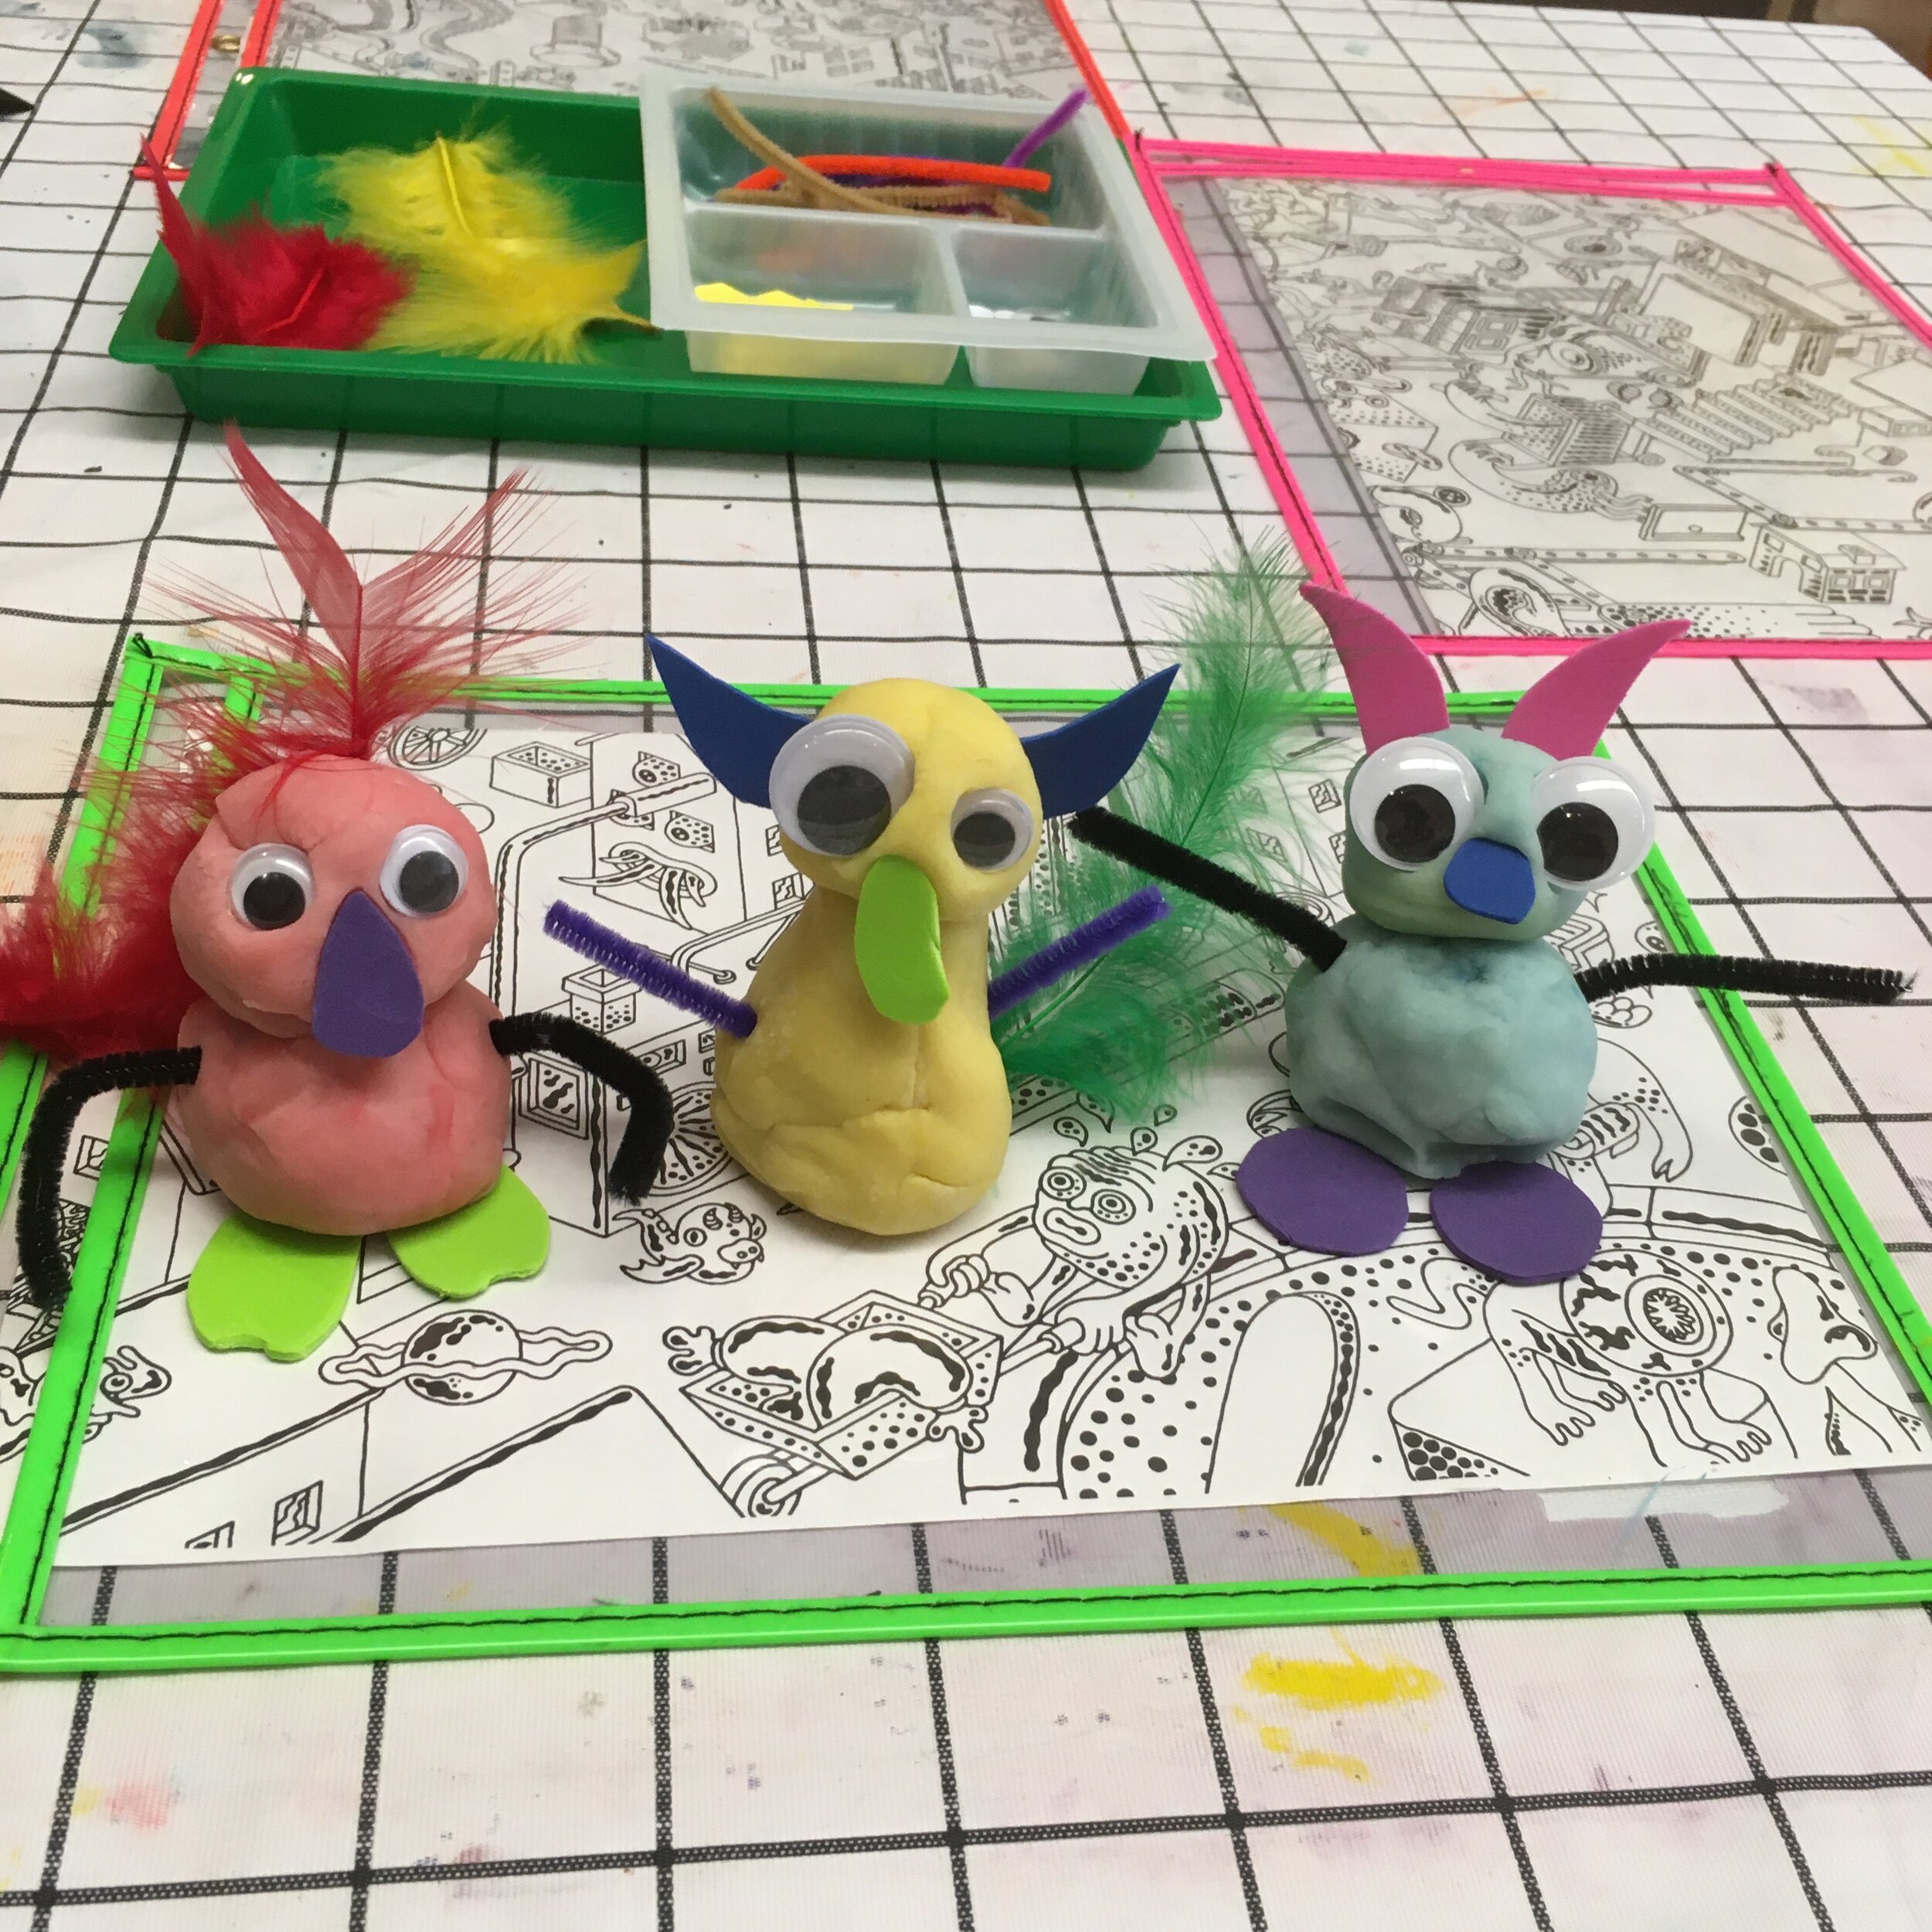
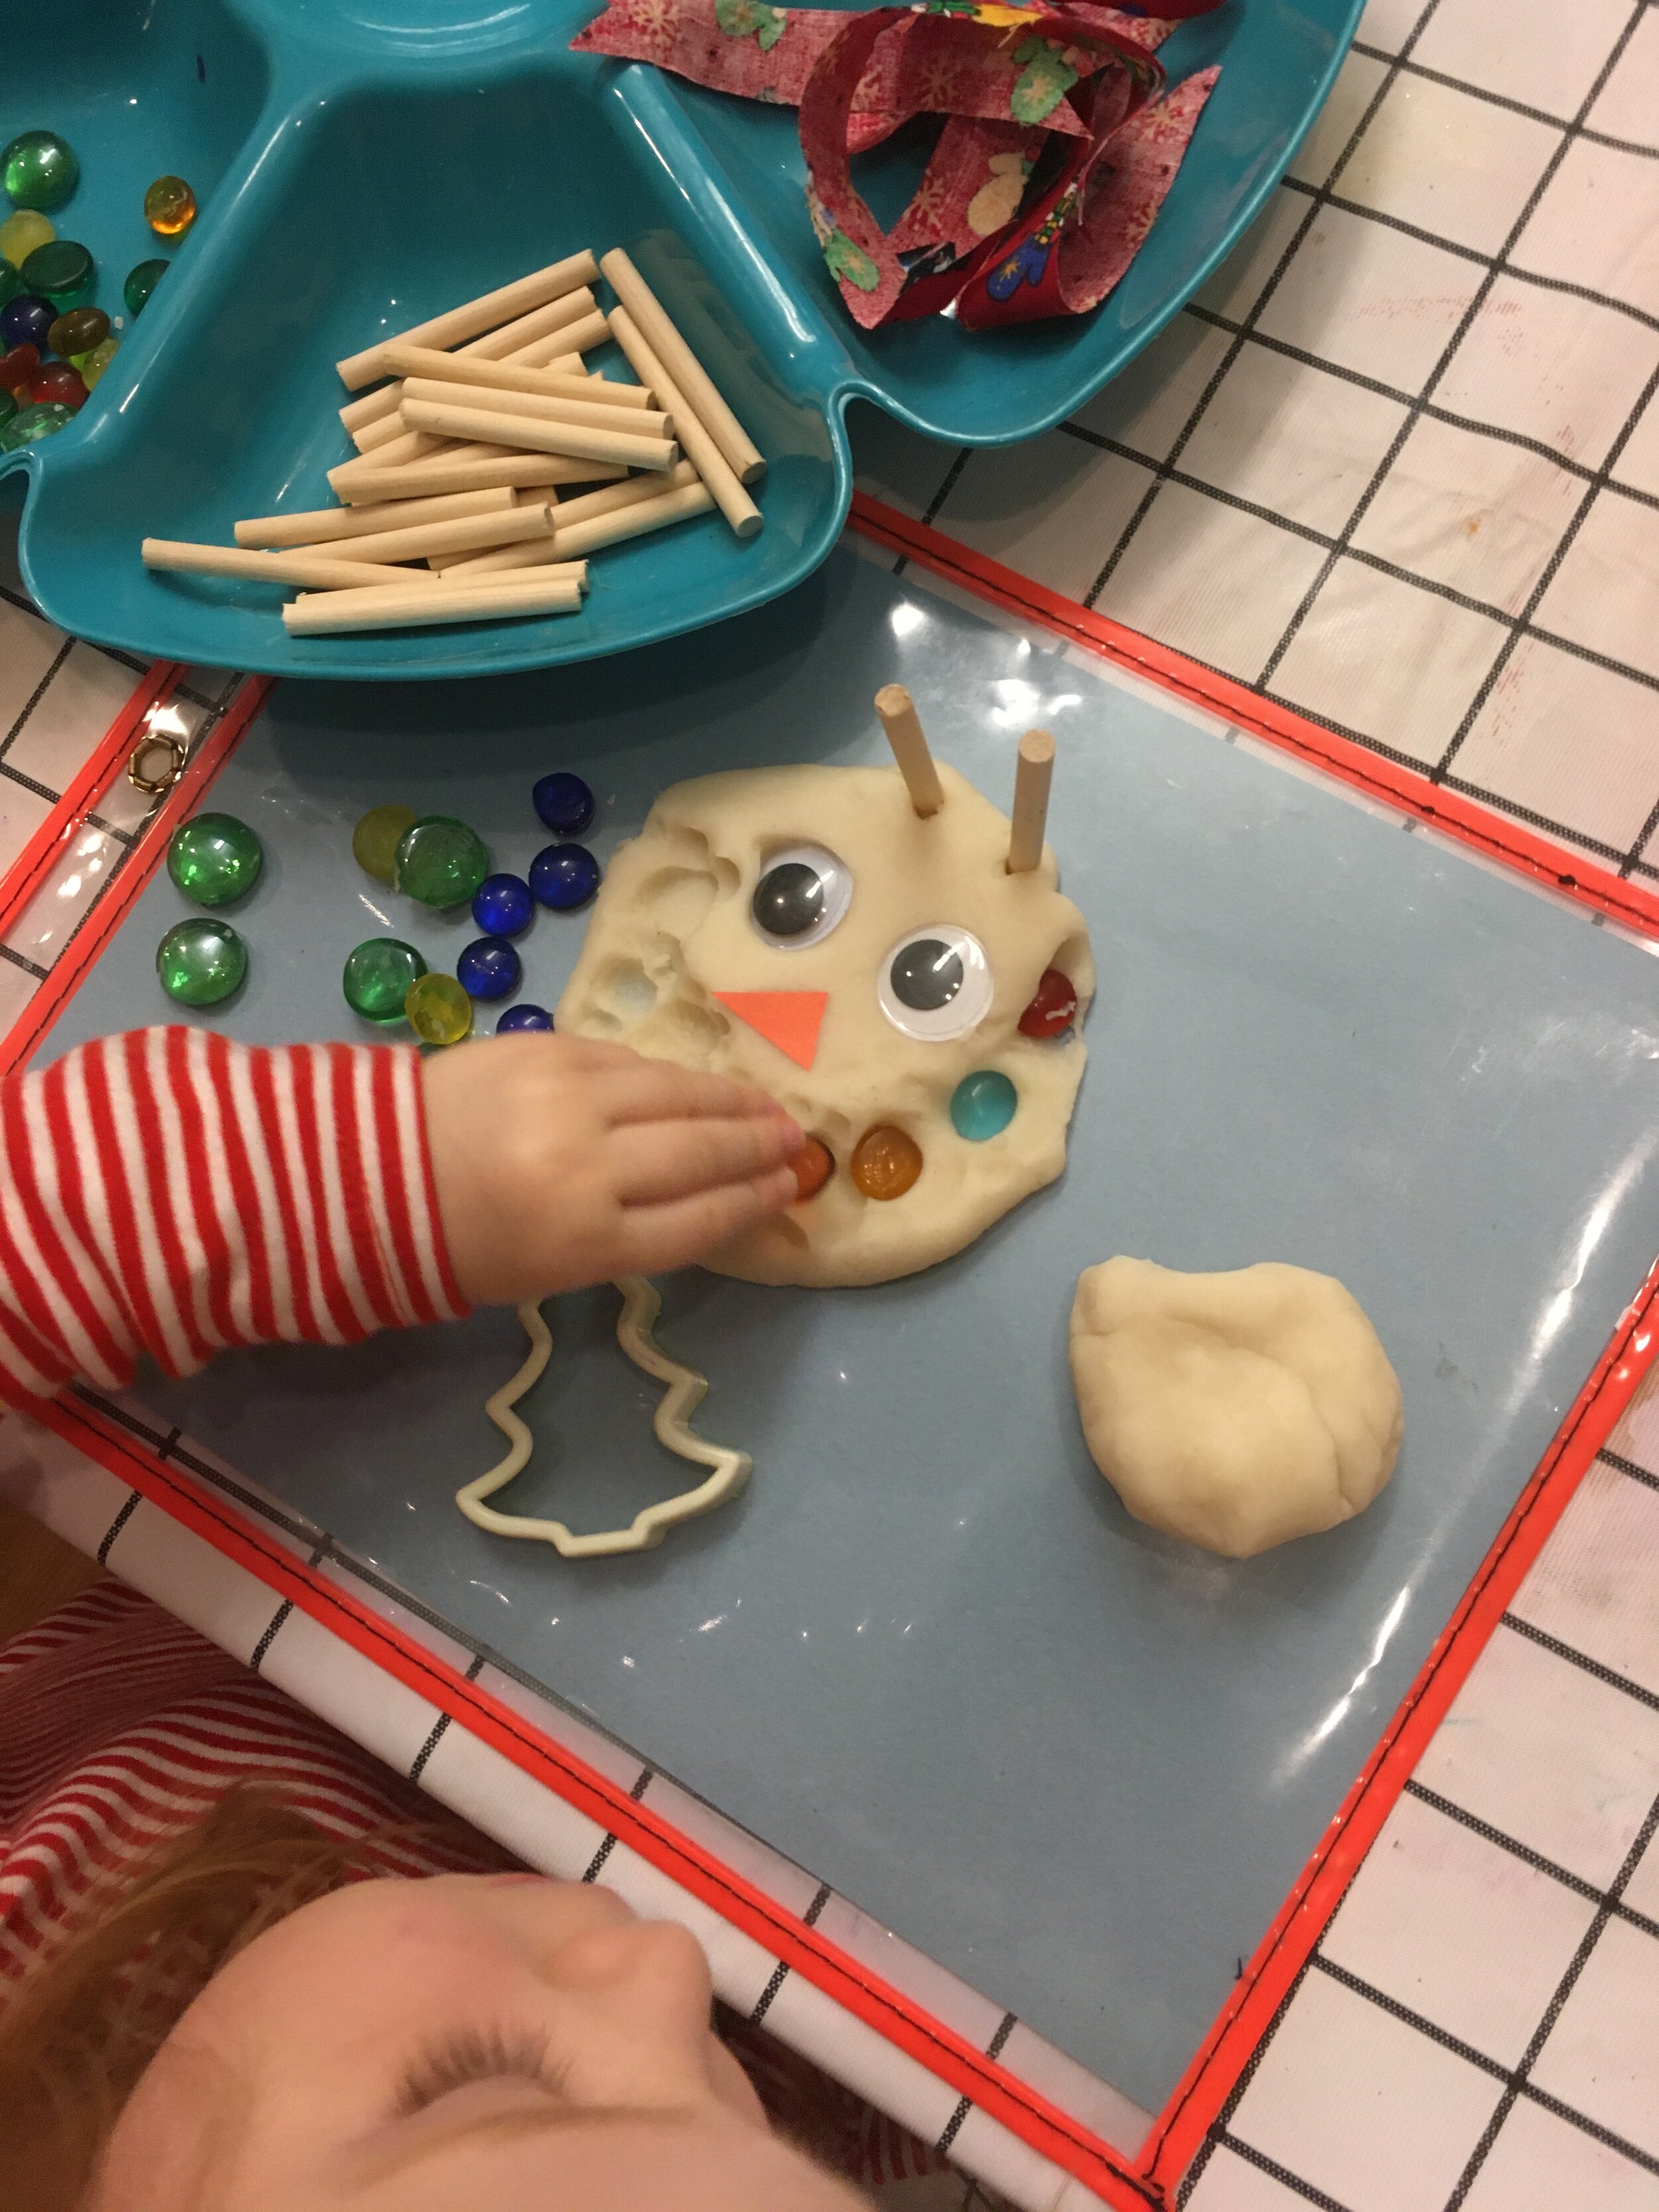
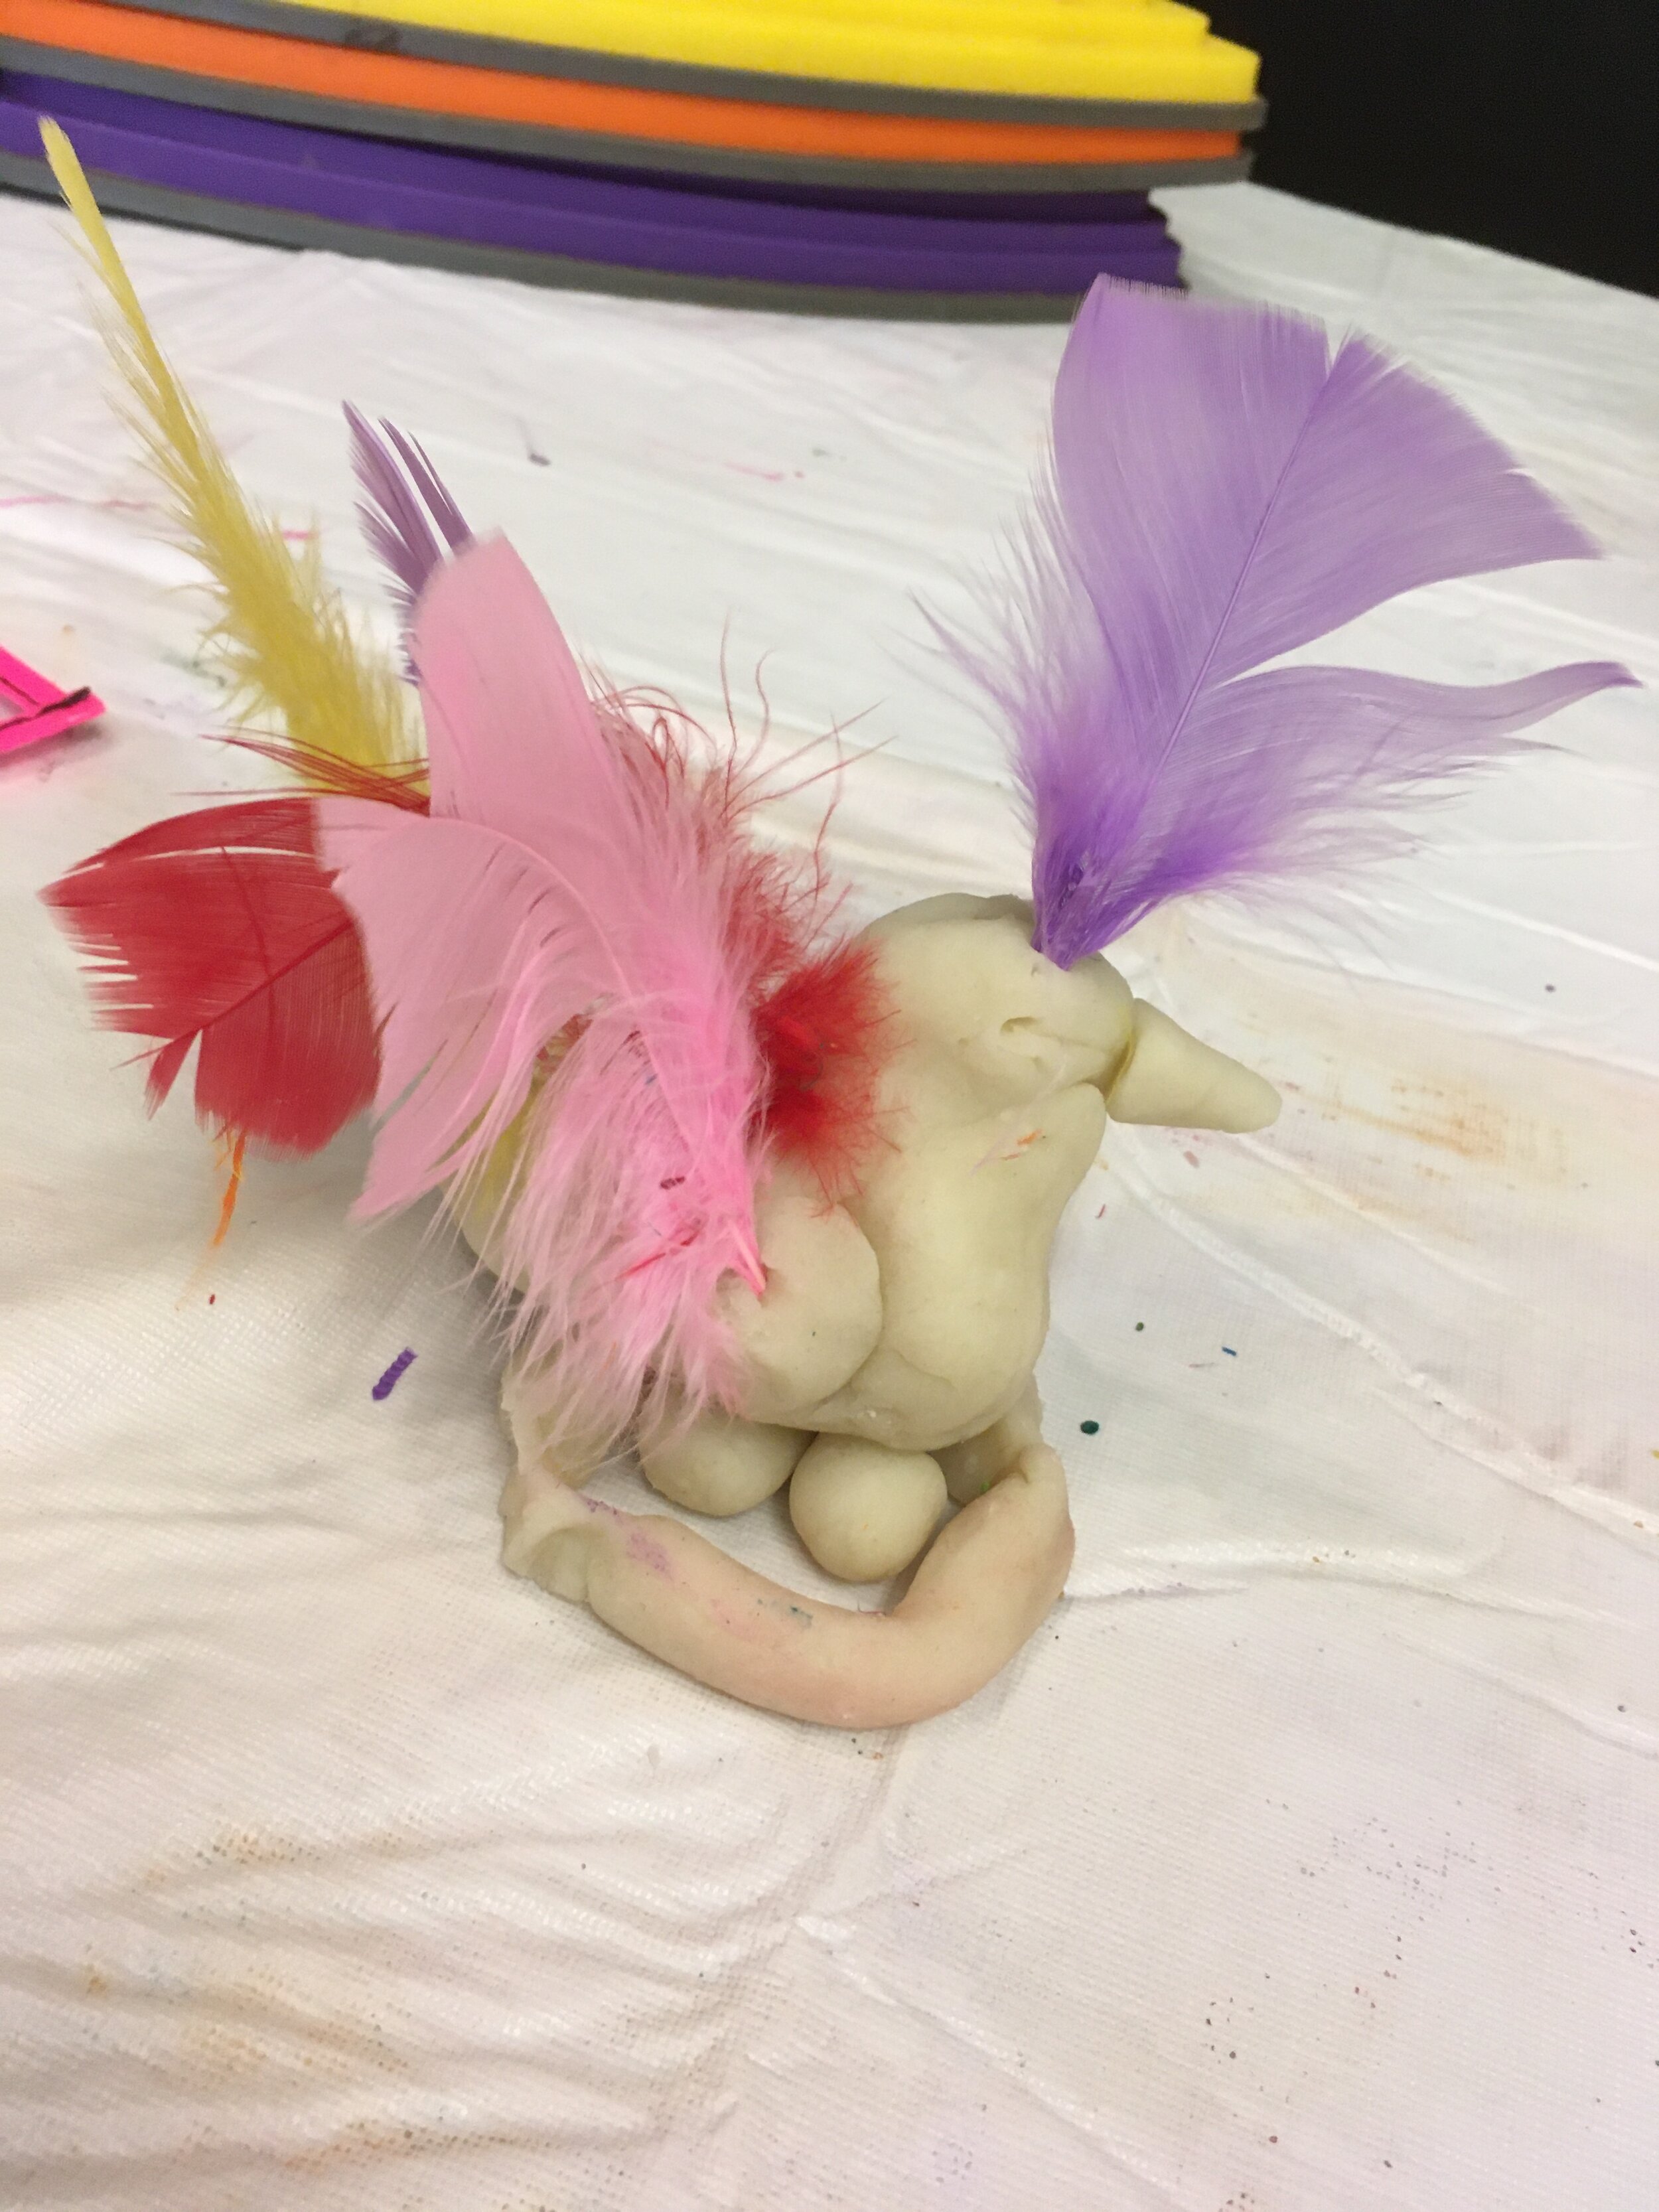
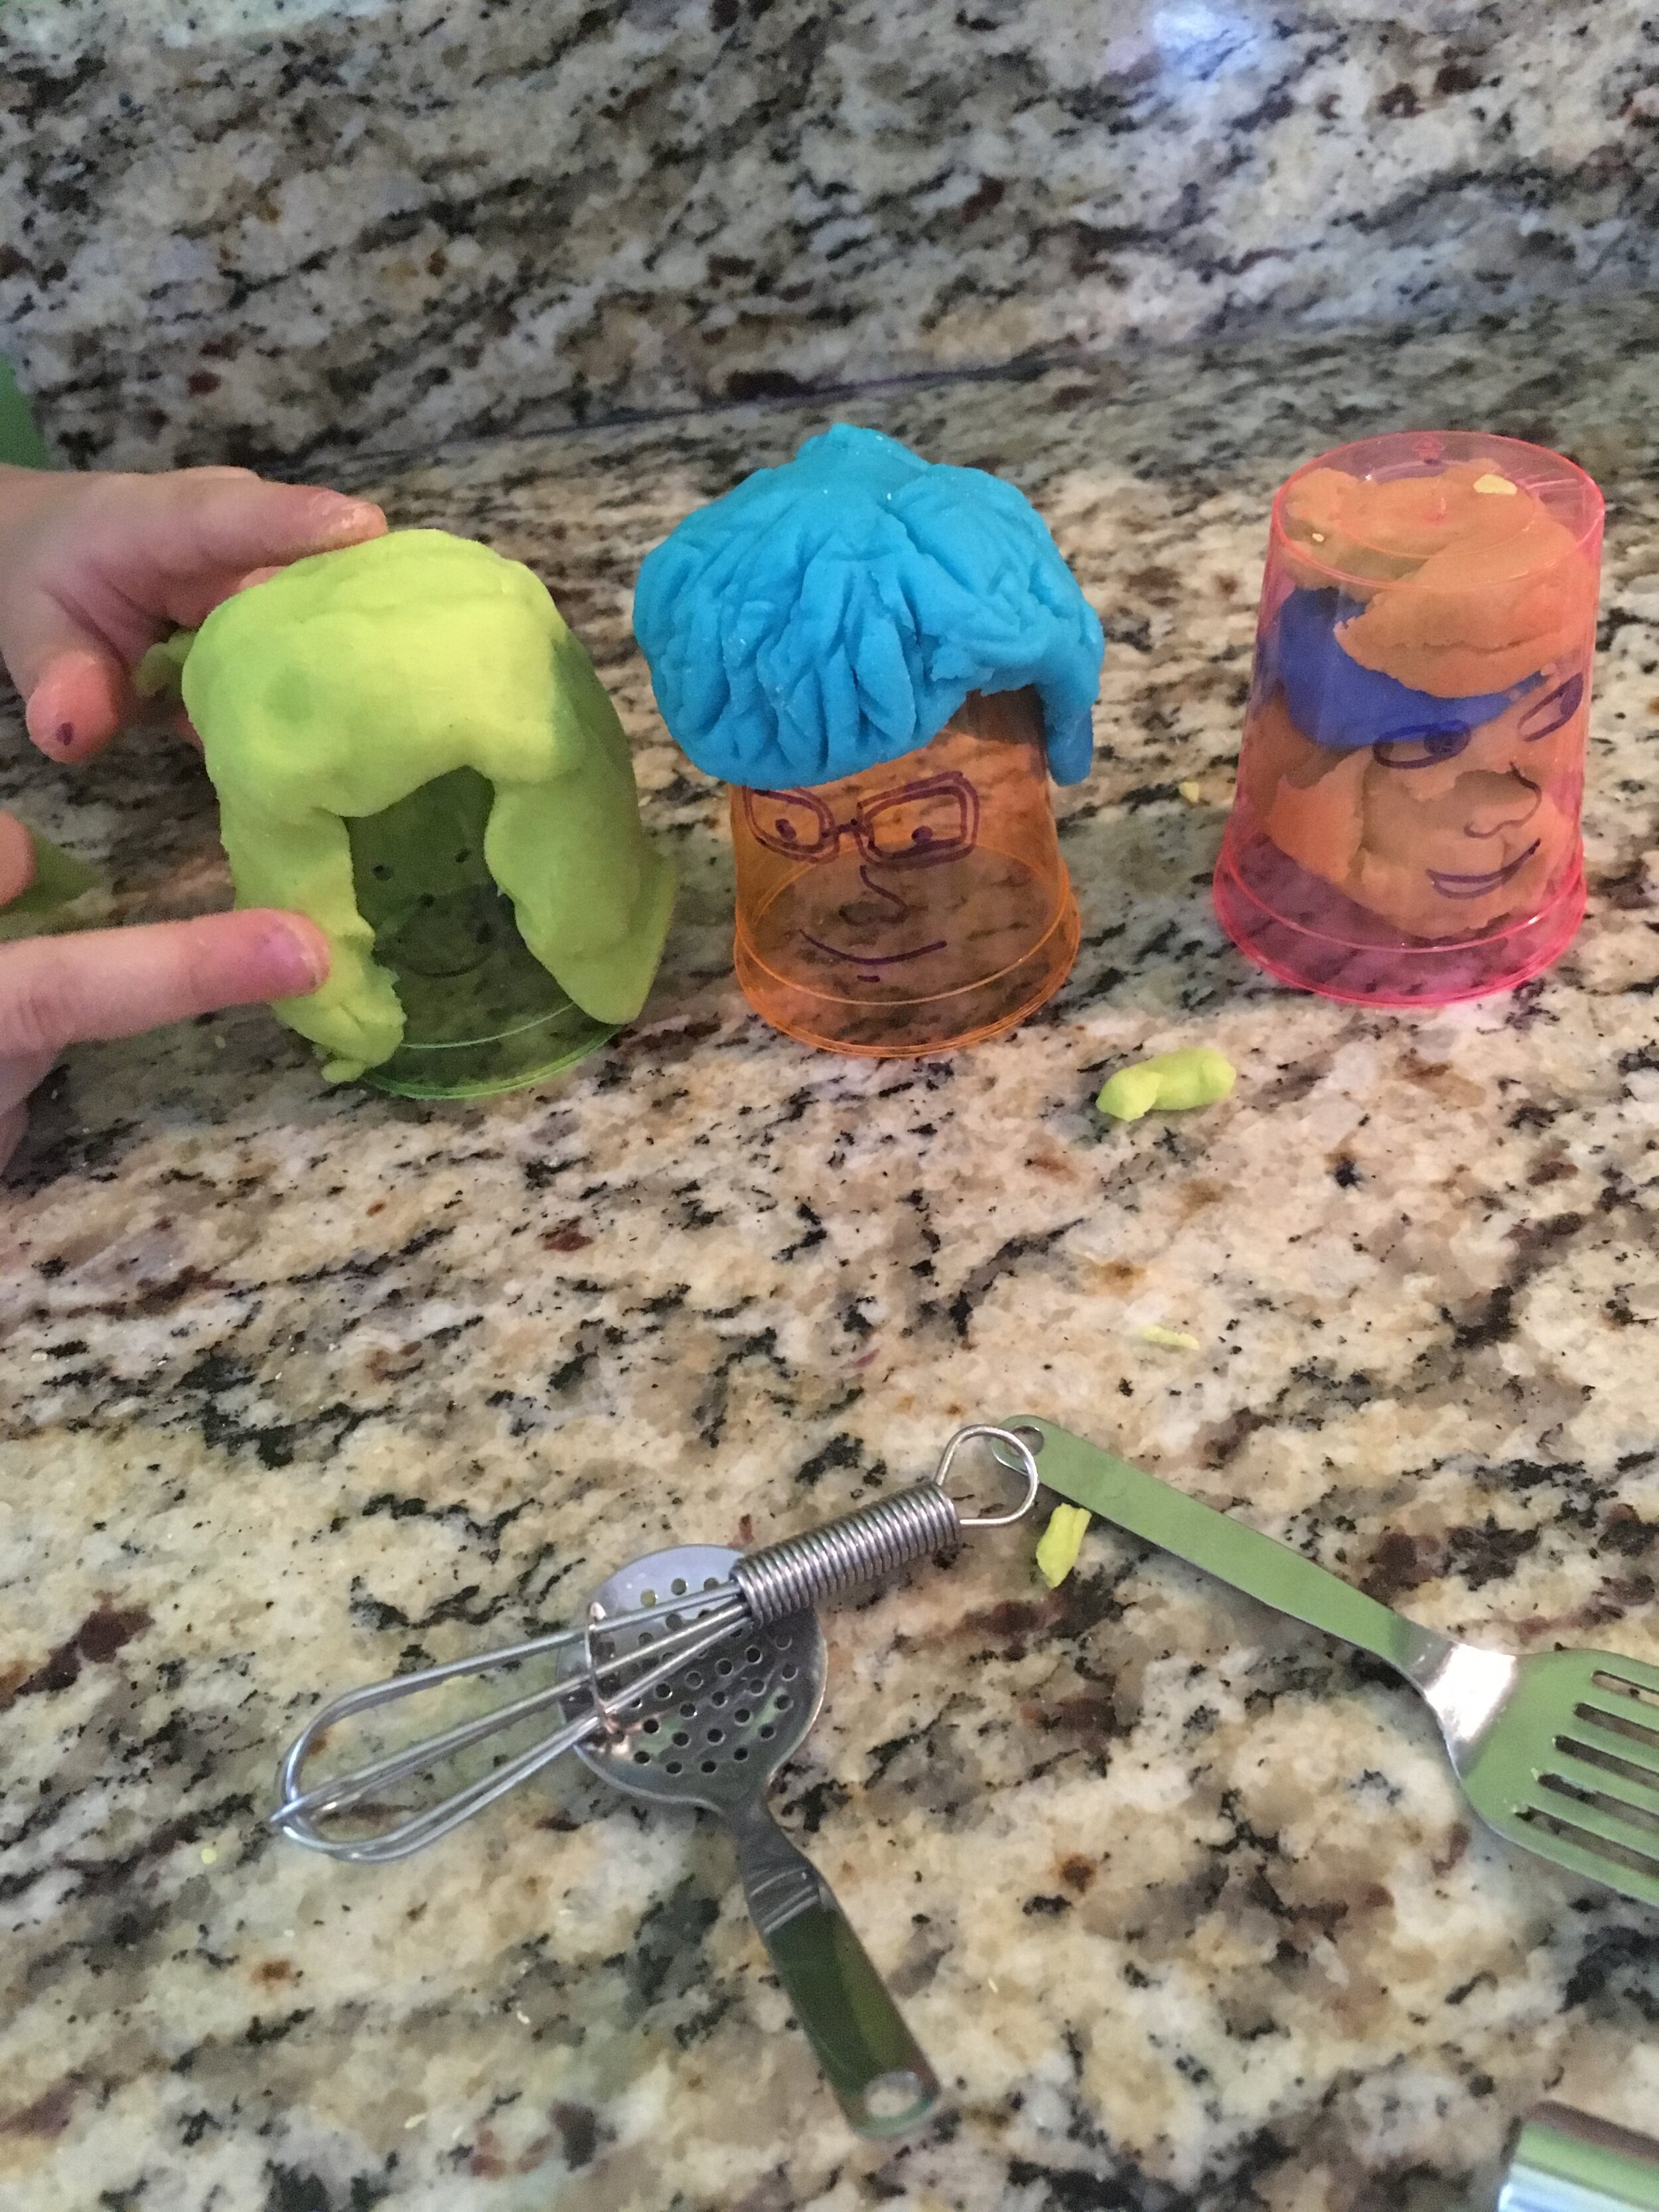
One of the best ways to make play dough exploration exciting is by putting out other materials to push into the play dough, just like my mother did by offering me toothpicks. Here is a list of some of my favorite materials that I will put out with play dough to keep it engaging.
popsicle sticks
feathers
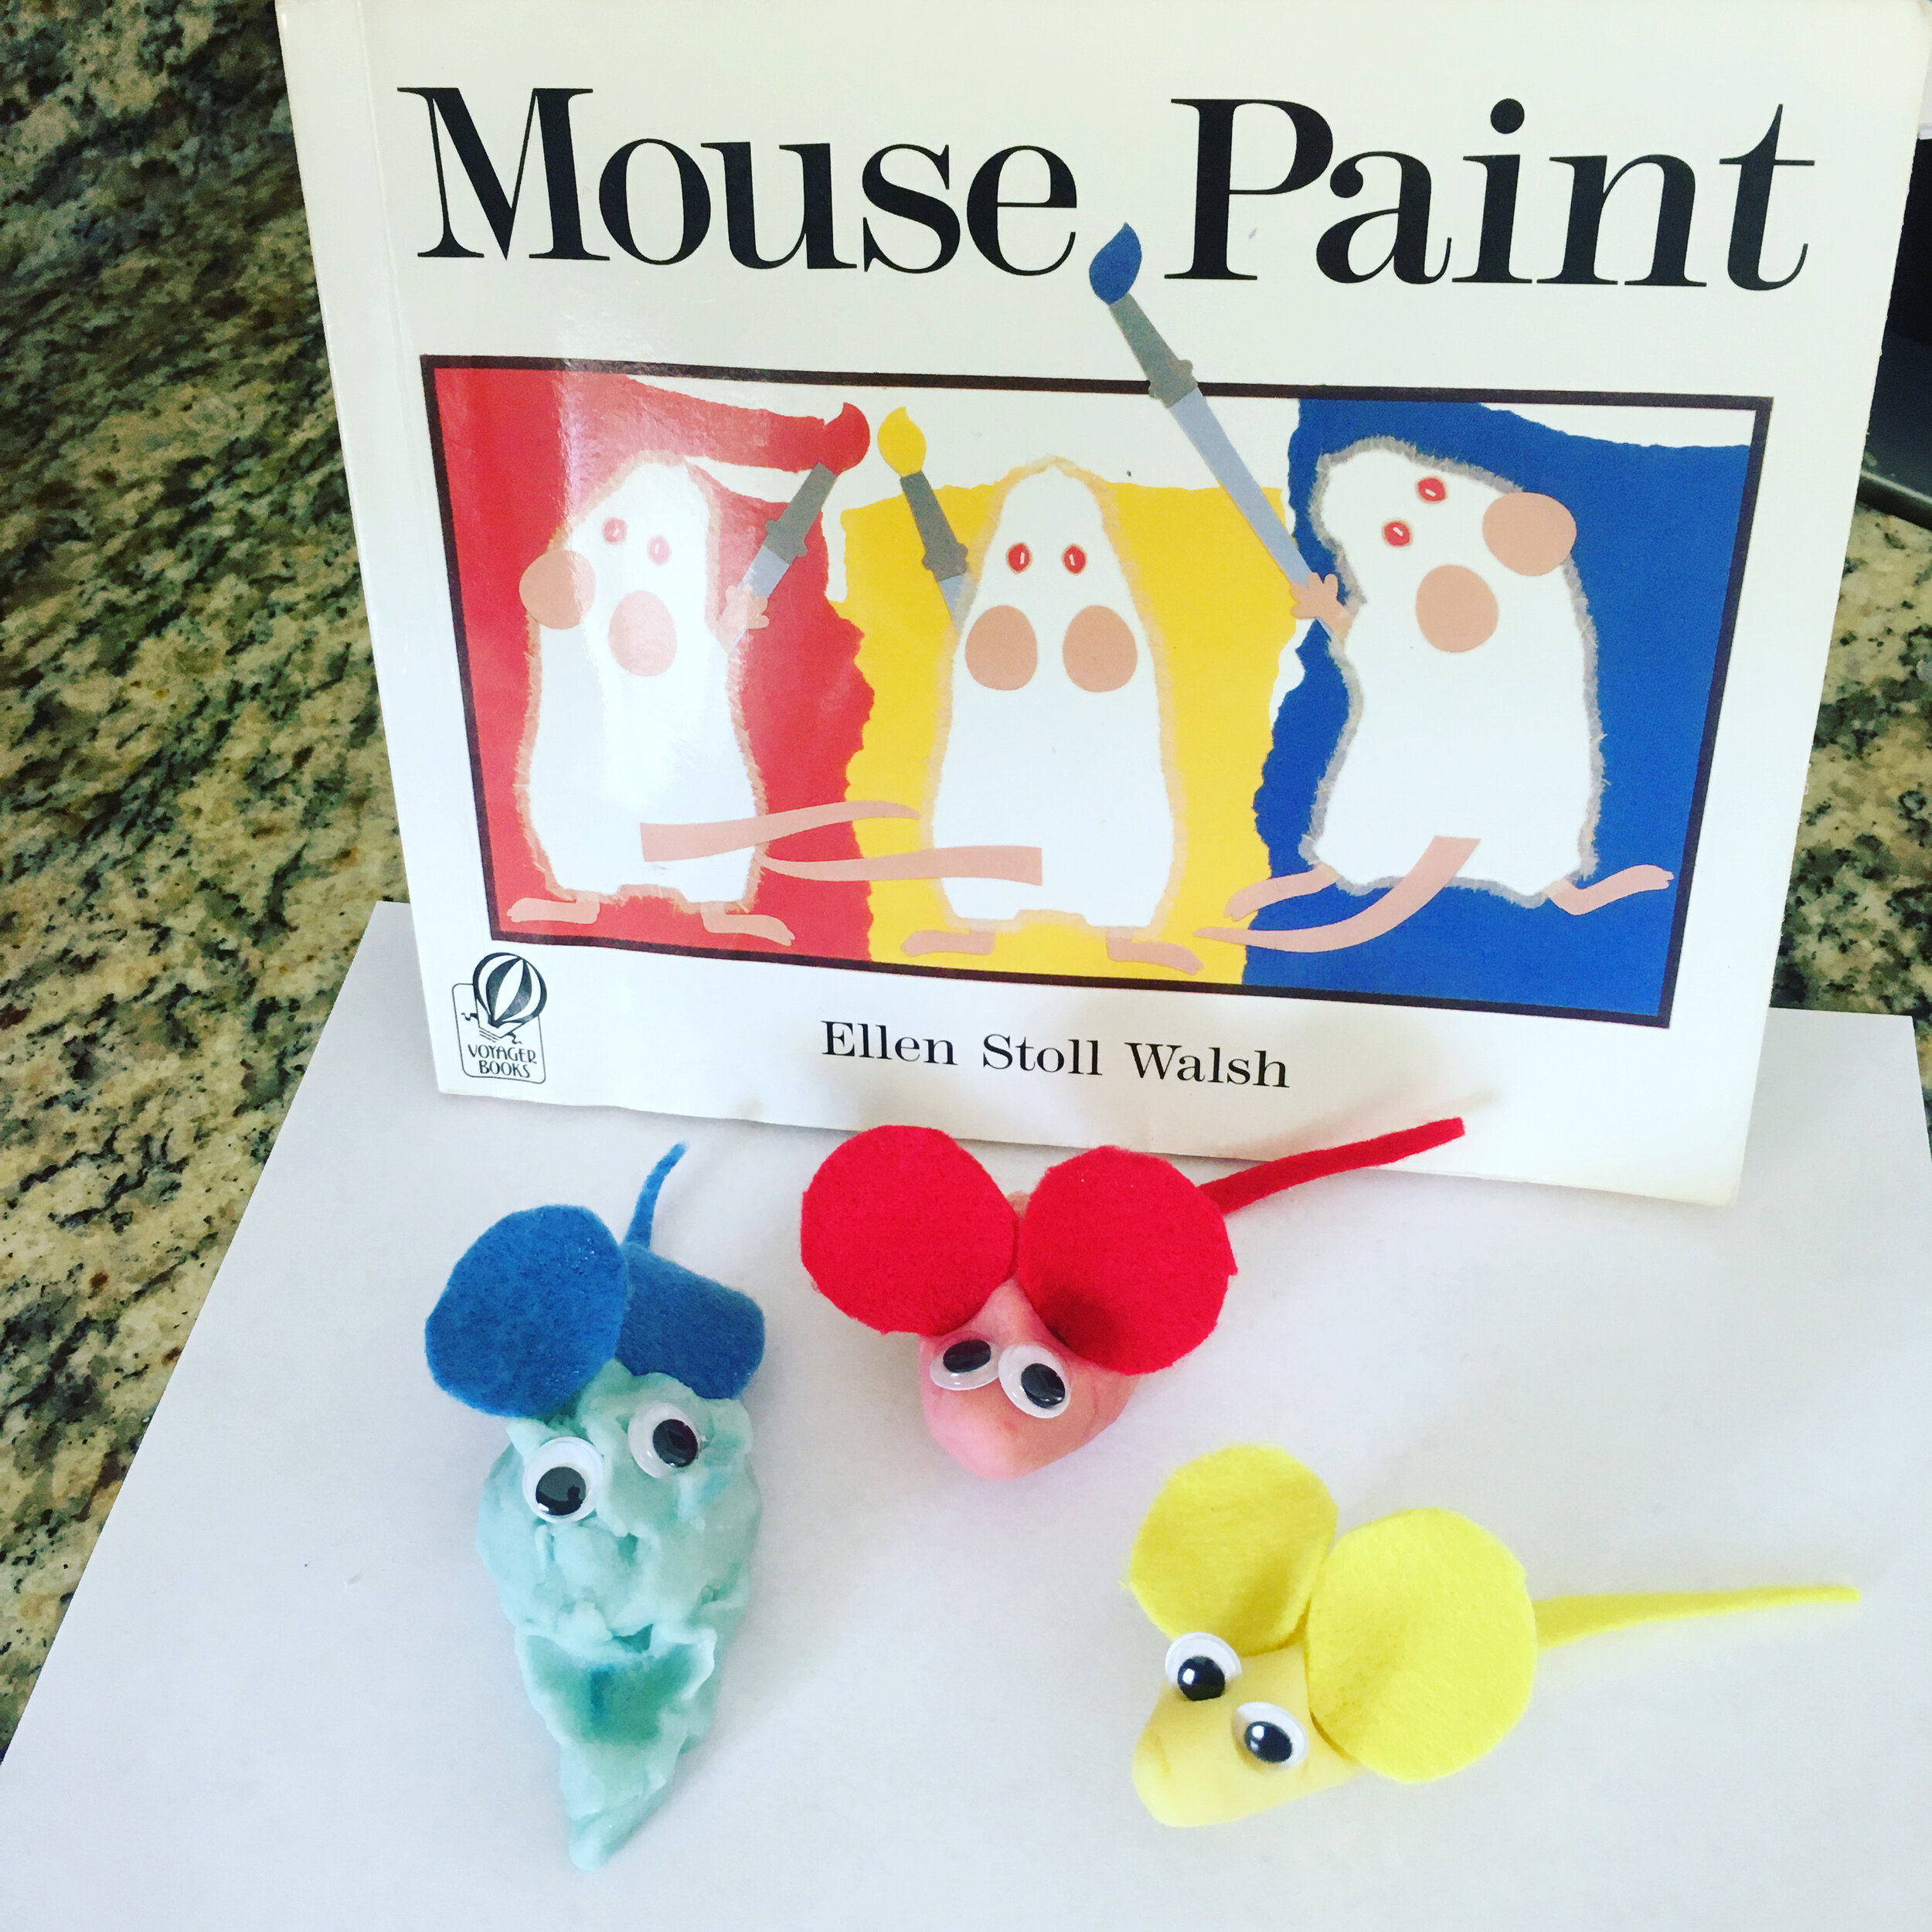
bits of felt for ears, tails, etc.
buttons
glass drops
googly eyes
plastic gems
small plastic or wood letters
toothpicks
shells
cupcake holders (paper or reusable silicone cups)
birthday candles
small plastic animals make great footprints
any type of cookie cutter
corks
pattern blocks
pipe cleaners/chenille stems
plastic flowers
rocks, sticks, leaves, or other nature treasures
dried pasta or beans
About Sarah
Sarah graduated from the University of Maryland with an M.Ed in elementary education and an MA in art education. After teaching elementary art in Chicago, Sarah moved to Amherst, MA and was a museum educator at The Eric Carle Museum of Picture Book Art. While in Raleigh, Sarah has taught art at Little By Little, and currently teaches at Arts Together. She is a linocut printmaker whose artwork has been exhibited by VAE. As a mother of two, Sarah loves to work with children and help them explore their creativity and build their problem solving skills. In her free time, Sarah enjoys drawing, printmaking, knitting, and baking for her family.
You can find more play dough ideas and other kid projects at Sarah’s Instagram handle: @drawpaintprint. If you give this DIY a try, please share with us. Tag us on Instagram (@kidlabraleigh) or leave a comment below.
